Before we move to the methods, it is important to understand NTFS file compression. In simple terms, it is a feature in the Microsoft Windows NTFS file system that allows you to compress individual files or folders to save space on your hard drive. When you compress a file or folder, the data is still there, but it is stored more efficiently. With that out of the way, let’s begin with the methods.
1. Enable NTFS File and Folder Compression Using File Explorer
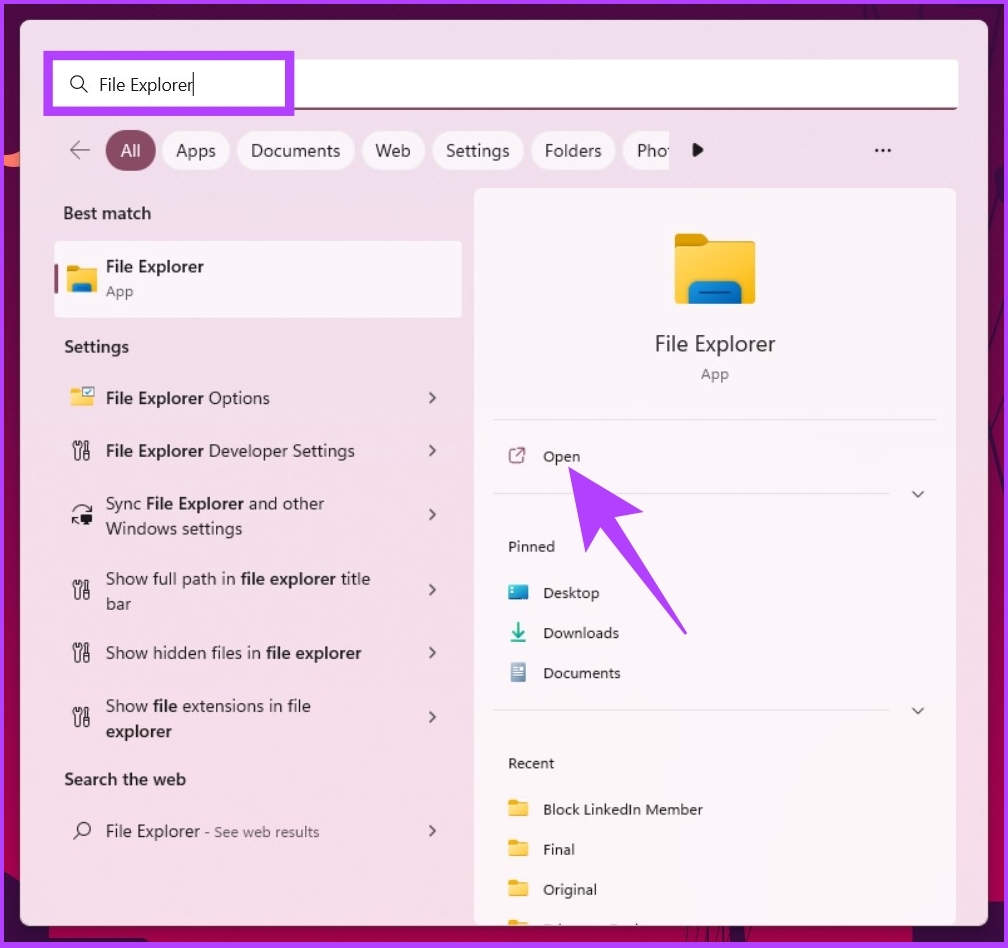
This is one of the most common and easiest ways to turn on file or folder compression on Windows. The steps are pretty straightforward. Follow the steps below. Note: We will be compressing a folder. If you want to compress a file, the steps are pretty much the same. Step 1: Press the Windows key on your keyboard, type File Explorer, and click Open.
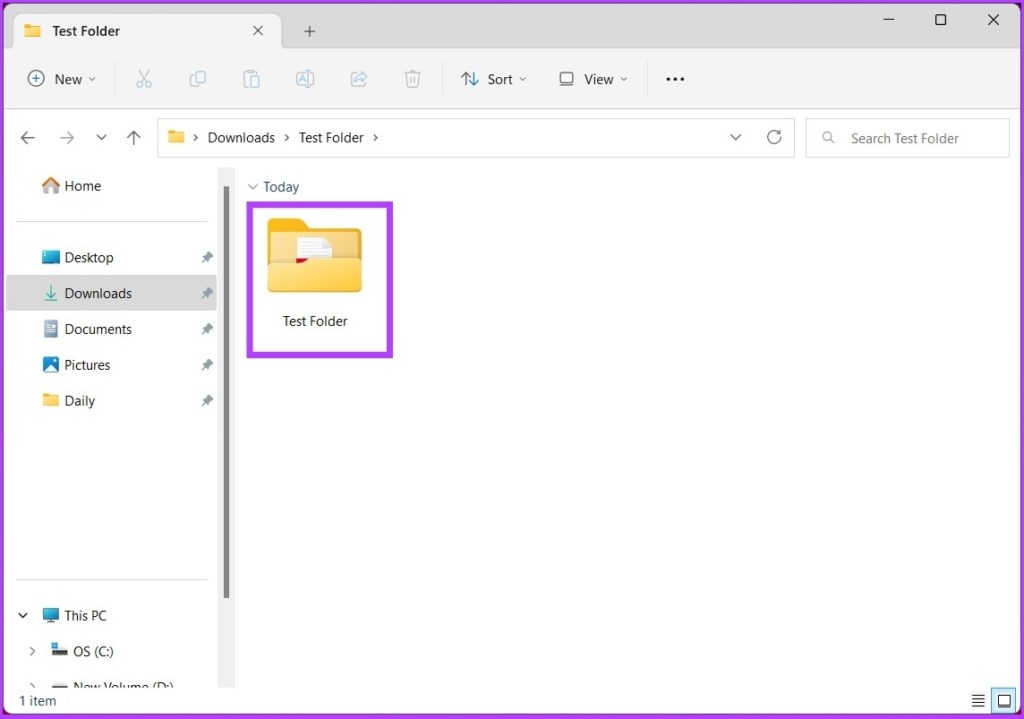
Step 2: Navigate to the folder you want to compress.
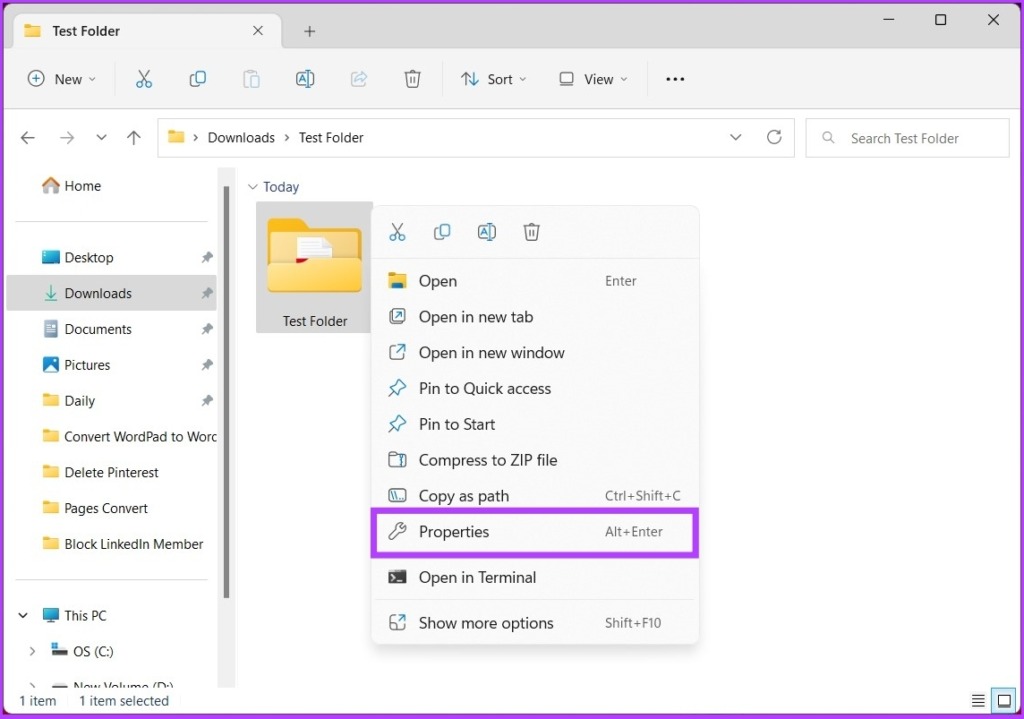
Step 3: Right-click on the folder and choose Properties from the context menu.
Step 4: In properties, under the General tab, click on the Advanced button.
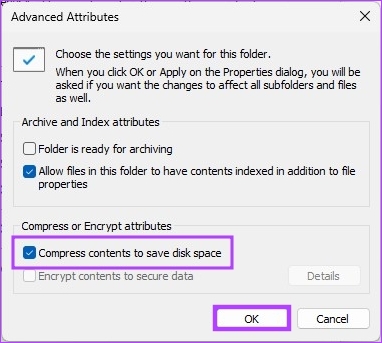
Step 5: In Advanced Attributes, under ‘Compress or Encrypt attributes,’ check the ‘Compress contents to save disk space’ option, and click OK.
Step 6: On the Folder properties window, click Apply.
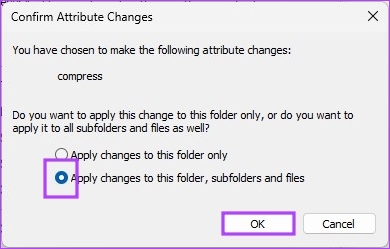
Step 7: In the Confirm Attribute Changes, check ‘Apply changes to this folder, subfolders and files,’ and click OK.
That’s it. You have successfully enabled NTFS file compression on your Windows machine. If you find the steps to be too long, jump to the next method.
2. Turn on NTFS Compression Using Command Prompt
This is the shortest way to enable file compression on Windows. The steps are fairly simple to follow and execute. Step 1: Press the Windows key on your keyboard, type Command Prompt, and click on ‘Run as administrator.’
Step 2: Type the below command to enable file compression.
Step 3: Finally, restart your computer.
There you go. You have enabled file compression on your Windows PC. If you don’t want to execute it through the Command Prompt, there’s another way. Move to the next method.
3. Set Up NTFS File Compression Using Registry Editor
This step isn’t as straightforward as the above method. However, because we will be using Registry Editor, we strongly advise you to back up the Windows Registry before proceeding with the steps below. Step 1: Press the Windows key on your keyboard, type Registry Editor, and click ‘Run as administrator.’ Note: You can also press ‘Windows key + R’ to open the Run command box, type regedit.exe, and click OK to open Registry Editor.
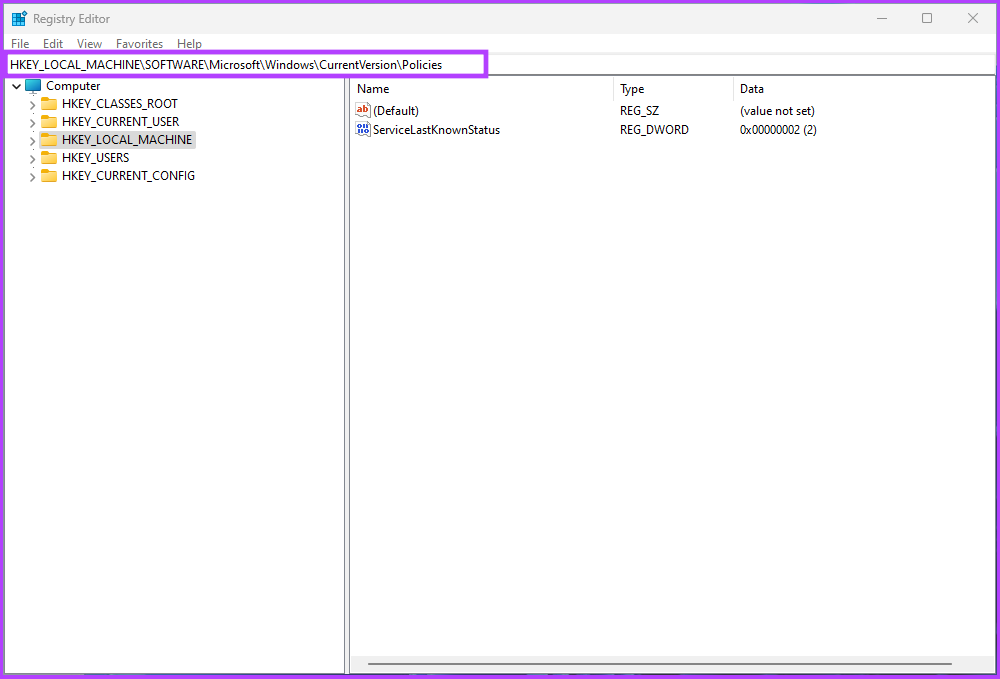
In the prompt, select Yes. Step 2: In the top address bar, enter the mentioned address. Note: You can manually navigate to the section too.
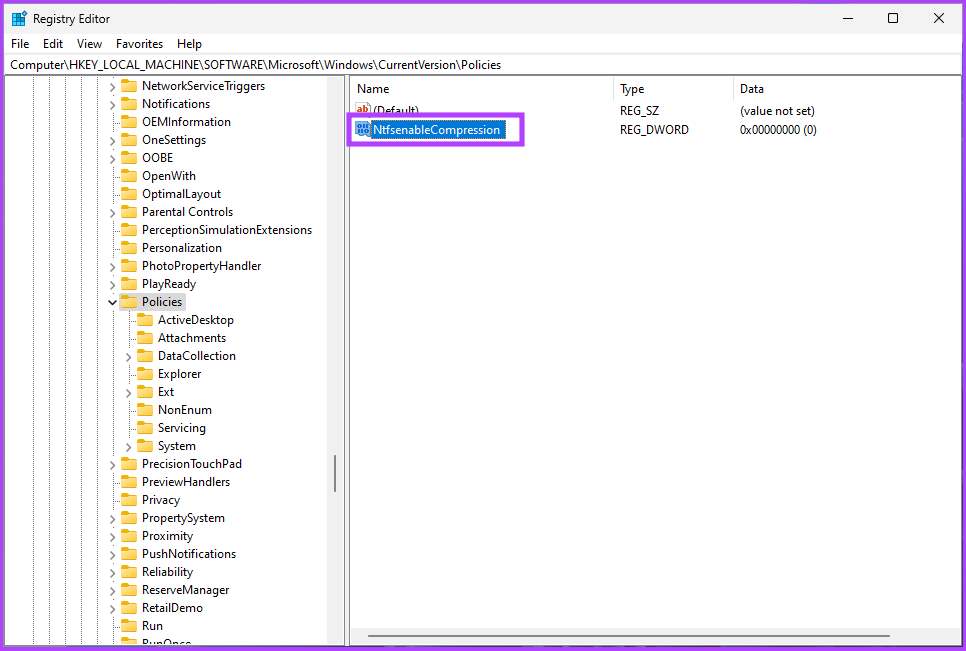
Step 3: Under the Policies folder, right-click, select New, and choose ‘DWORD (32-bit) Value.’
Step 4: Type NtfsenableCompression in the name field.
Step 5: Double-click the new value, type 1 in the Value Data field, and press OK.
Finally, reboot the system to implement the changes. And that’s it! When the system boots back, the NTFS file compression will be enabled. If you don’t want to allow file compression from the registry, you can go with the Group Policy editor.
4. Enable NTFS File Compression Using Local Group Policy Editor
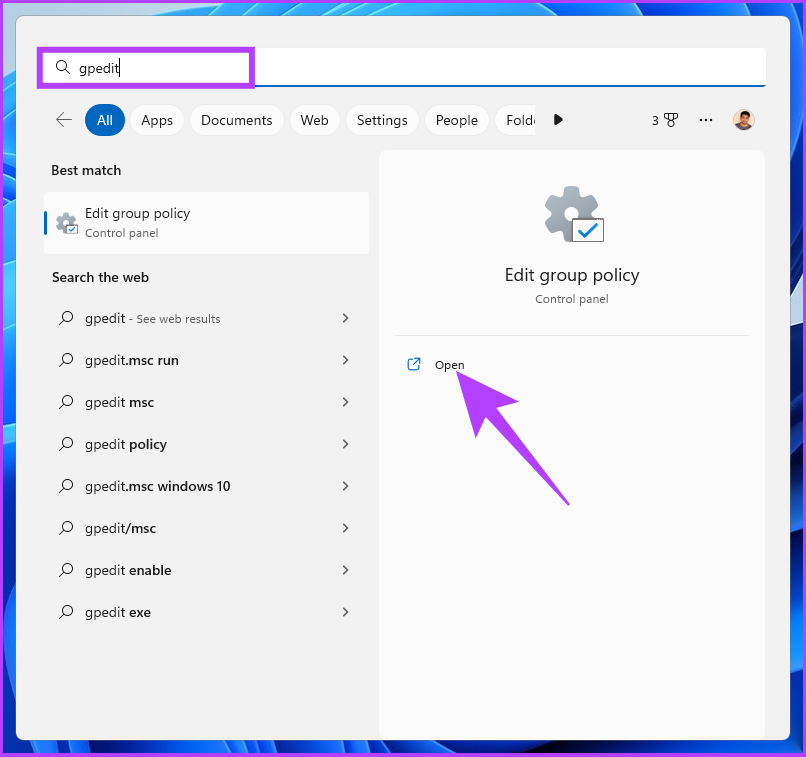
The Local Group Policy Editor helps you control Windows overall. Meaning, it also lets you enable NTFS file compression on your Windows. Here’s how to go about it. Note: Group Policy Editor is only available for Windows Pro and Enterprise versions. You can skip this method if you are on Windows Home Edition. Step 1: Press the Windows keys on your keyboard, type gpedit, and click Open. Note: You can also press ‘Windows key + R’ to open the Run command box, type gpedit.msc, and click OK.
Step 2: In the left pane, under ‘Local Computer Policy,’ select Computer Configuration.
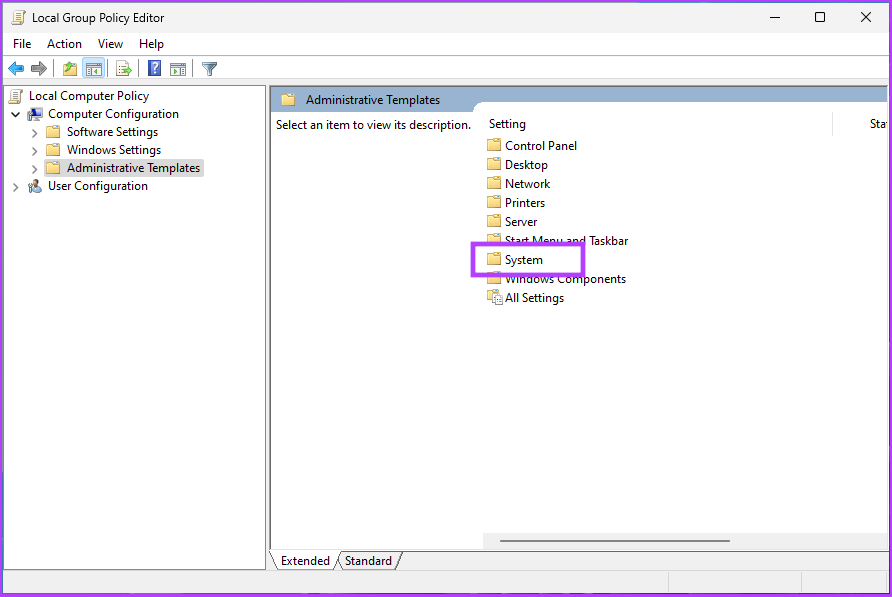
Step 3: In the right pane, double-click on Administrative Templates.
Step 4: Select the System folder.
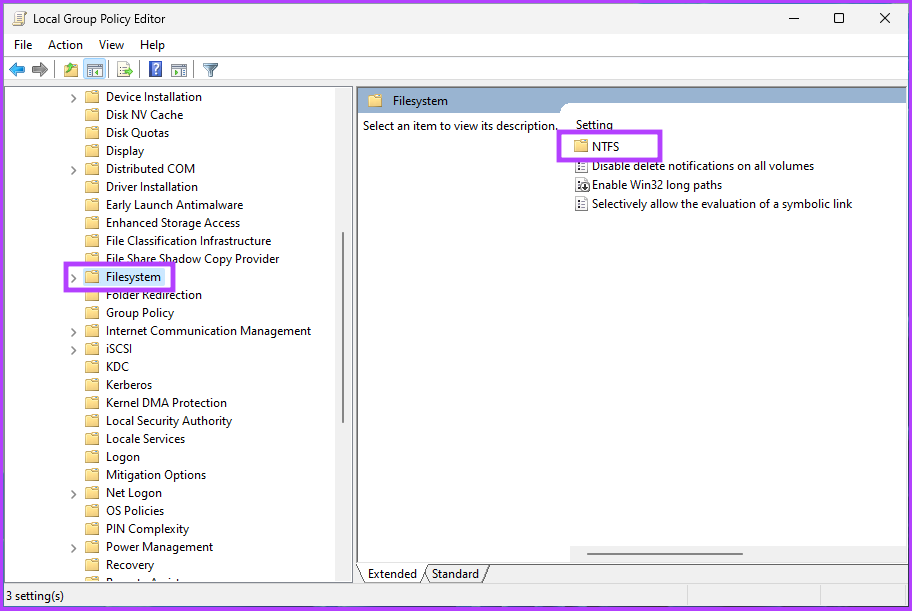
Step 5: Click on Filesystem from the left pane. Now, Select NTFS.
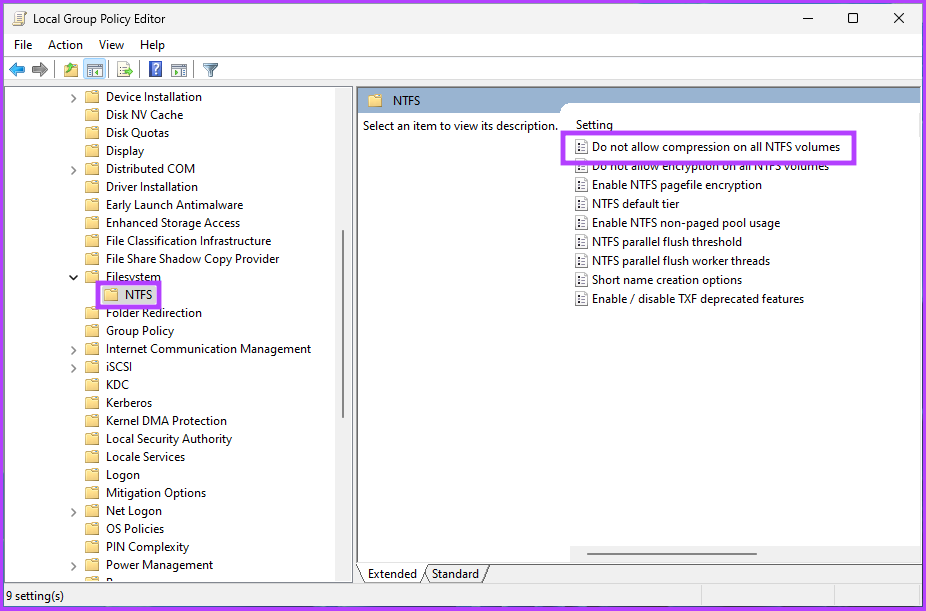
Step 6: In the NTFS folder, go to ‘Do not allow compression on all NTFS volumes,’ and double-click on it.
Step 7: In the appearing window, select the Disabled option. Finally, click on Apply and then OK.
There you go. Now, all you need to do is reboot Windows. When it boots back up, Windows will have enabled file compression.
Save Up Storage Space
Now that you know how to enable file compression, you can save disk space and improve the performance of your system by compressing large files and folders. You can also check how to delete temporary files on Windows 11 to free up some space.