The Track Changes feature turns the collaboration a bit more interactive where you can leave comments and replies. Also, if you are responsible for finalizing the document, you can accept or reject the relevant changes. Here’s a guide to use Track Changes in Apple Pages on Mac like a pro.
Enable Track Changes in Apple Pages
To use the track changes feature in Apple Pages, you will have to first enable the feature in the document on your Mac. Only then it can track every change made by you and the other people working on the document. Here’s how you can enable Track Changes in Apple Pages. Step 1: Use the Cmd+Space keyboard shortcut to launch Spotlight and search for Pages. Hit enter to launch the app.
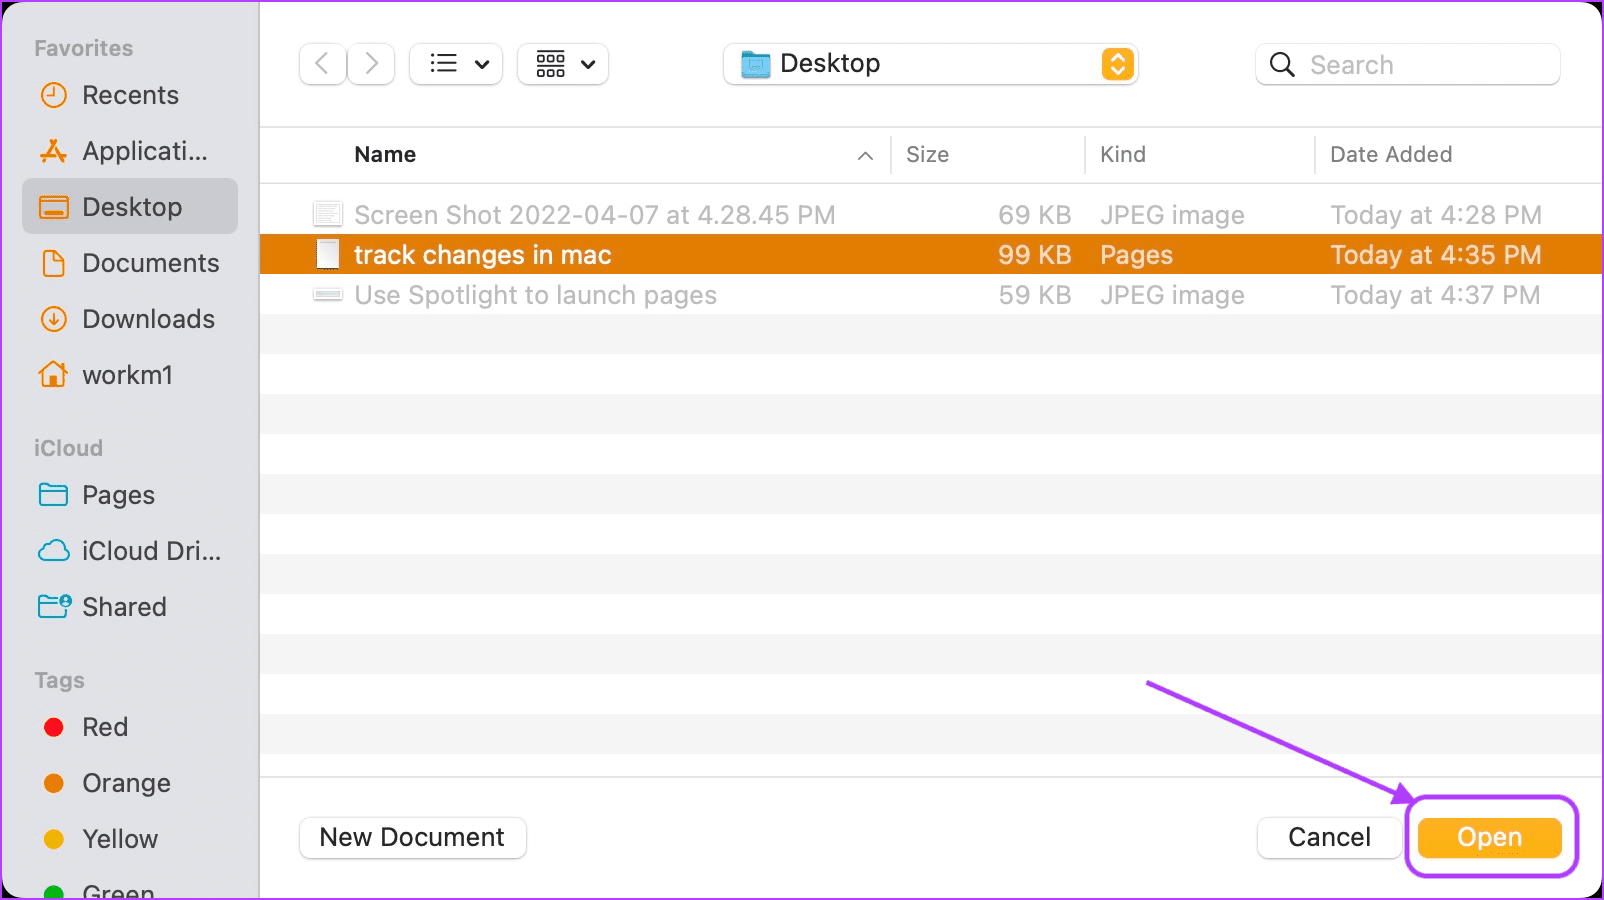
Step 2: Select the document you want to open in Finder view and click on the Open button in the bottom-right corner.
Step 3: After the document opens, select the Edit menu in the Menu Bar and select Track Changes.
Step 4: Here’s how the document appear when the Track Changes option is switched on.
View or Hide Track Changes
Once you enable the Track Changes feature, Pages will highlight any edits you make in the document. While keeping track of changes helps to stay on track with the document, you might want to hide the changes while you work on the document to avoid any distractions. Step 1: Open Spotlight using the Cmd+Space keyboard shortcut and search for Pages. Hit enter to launch the app.
Step 2: Select the document you want to open and click on the Open button in the bottom-right corner.
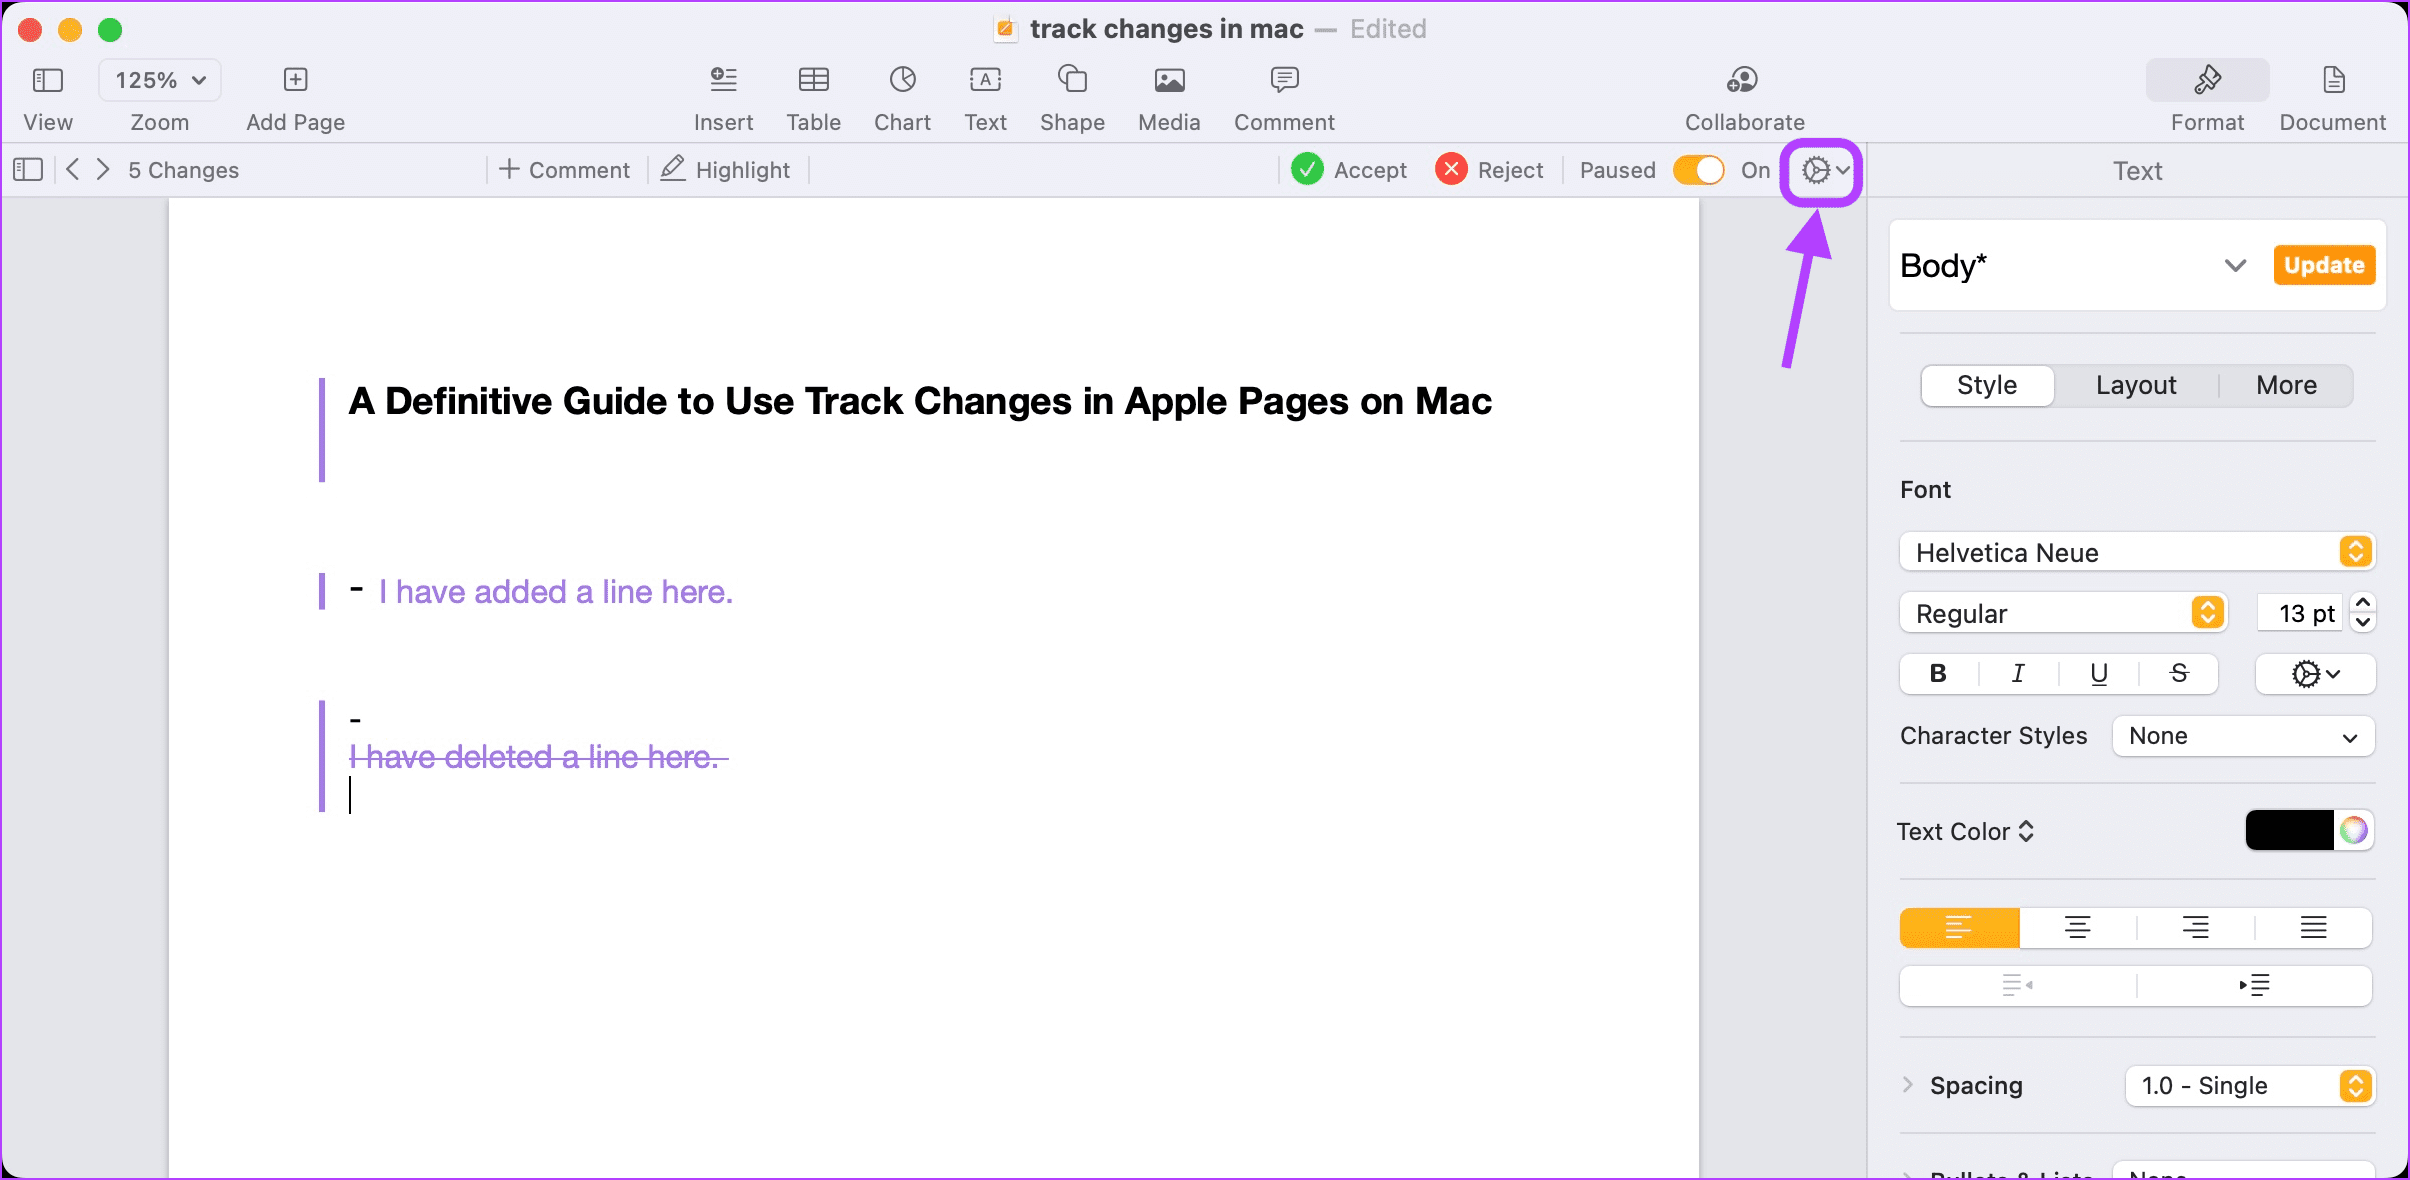
Step 3: Click on the gear drop-down menu marked in the picture below.
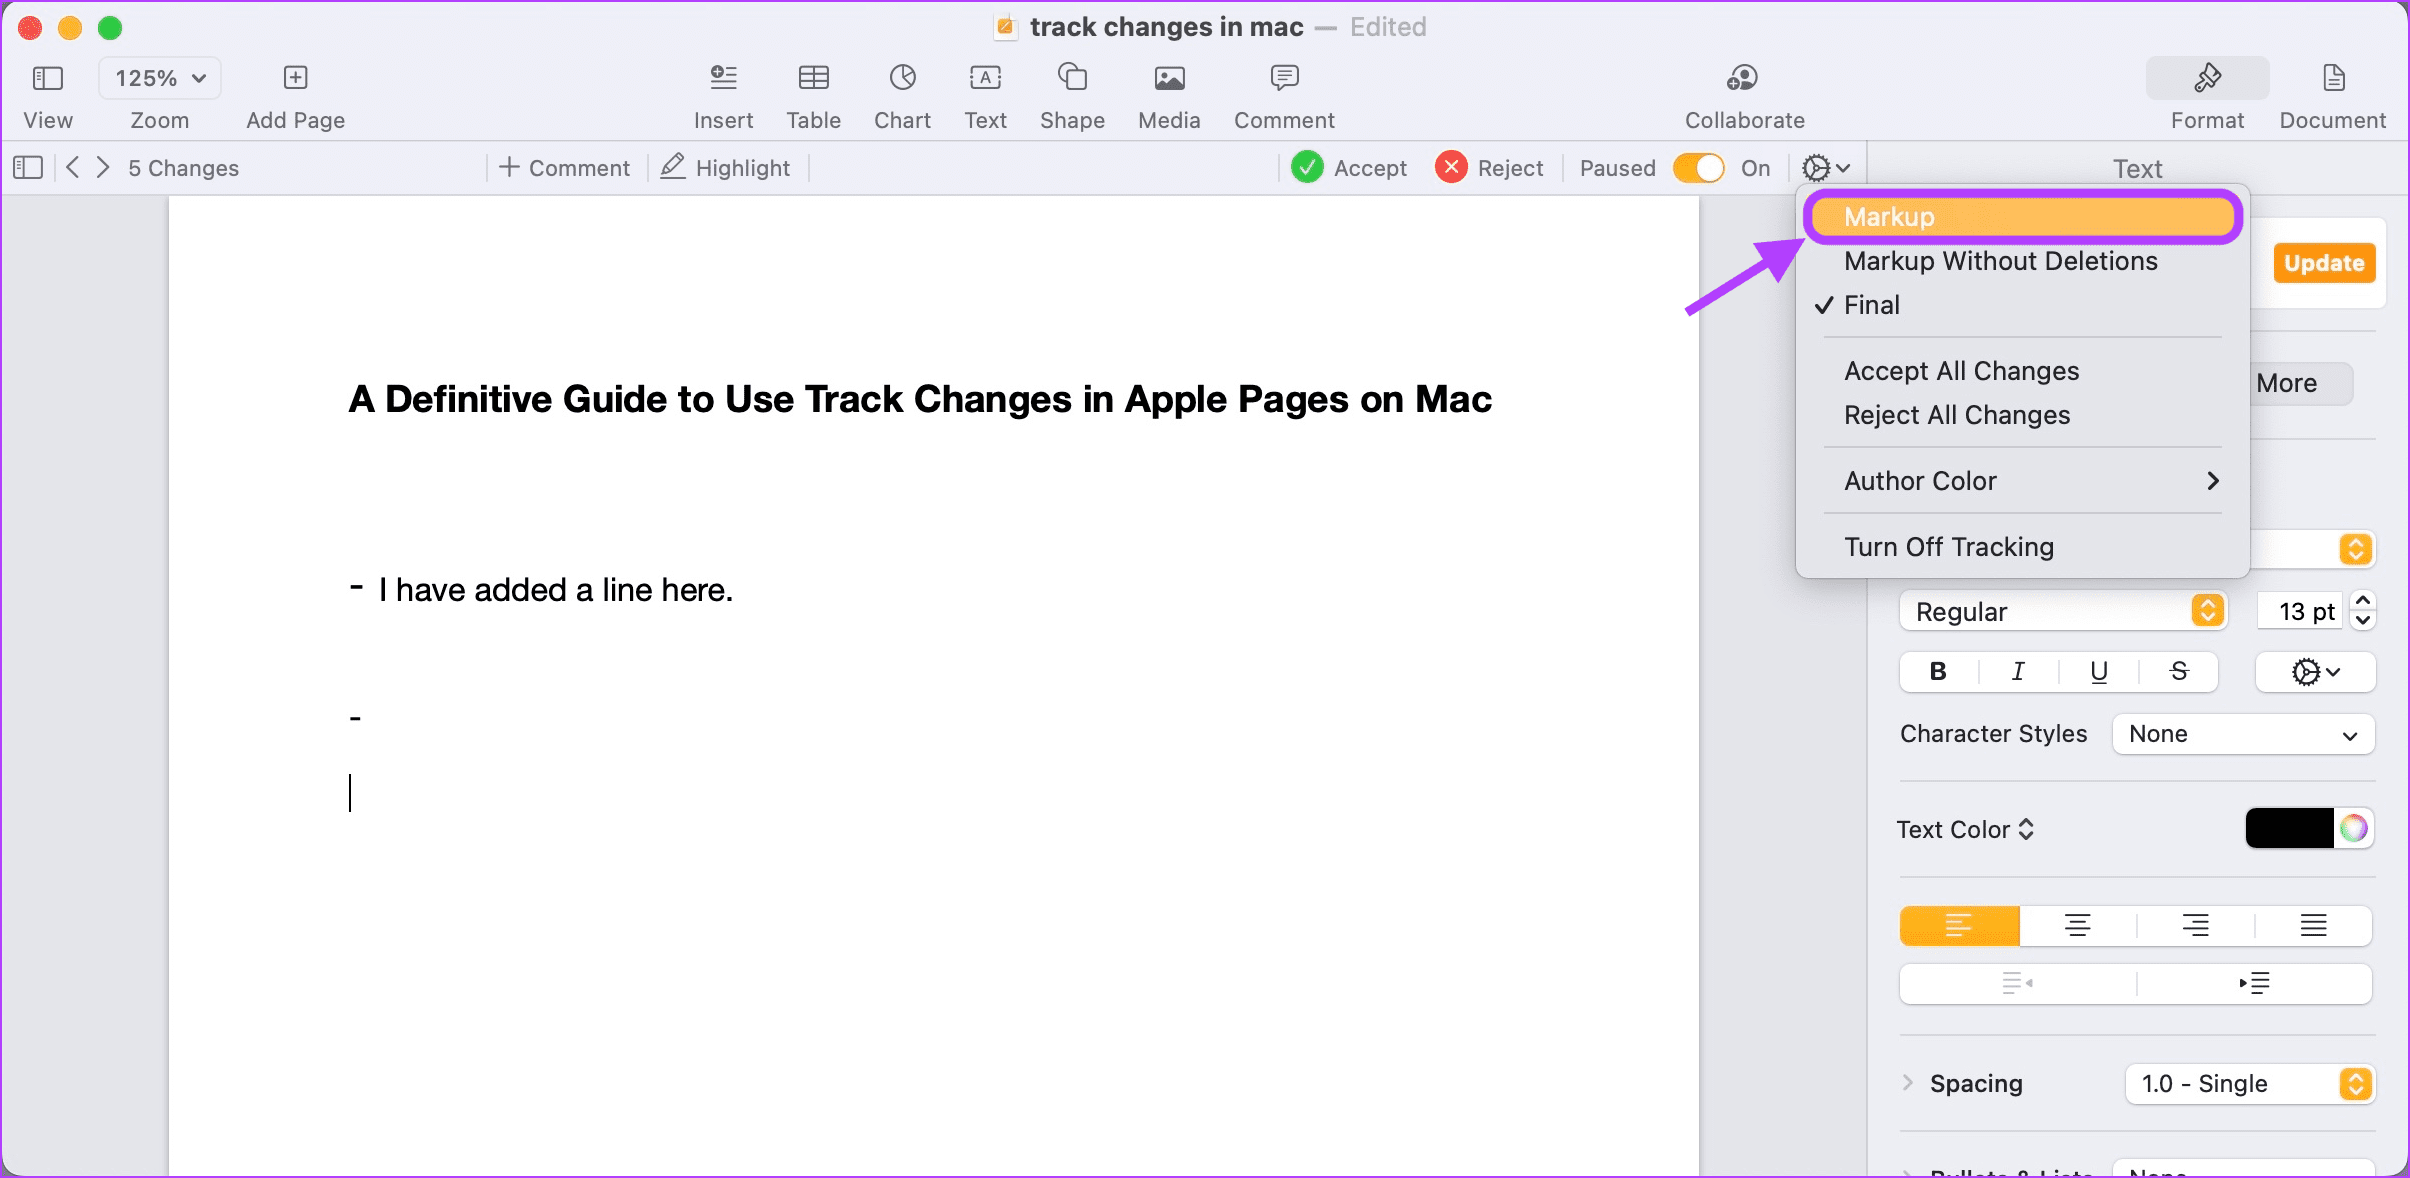
Step 4: Click on the Final option to hide changes in the document.
Step 5: To view the changes again, click on the gear drop-down menu and click to select the Markup option.
Customize Markup Color
Apple Pages also lets you choose from a list of markup colors that you can use to mark the changes in your document. If you have more than two collaborators, they can choose the different colors to make easy for identifying the changes. Step 1: Use the Cmd+Space keyboard shortcut to launch Spotlight and search for Pages. Hit enter to launch the app.
Step 2: Select the document you want to open and click on the Open button in the bottom-right corner.
Step 3: Click on the gear drop-down menu.
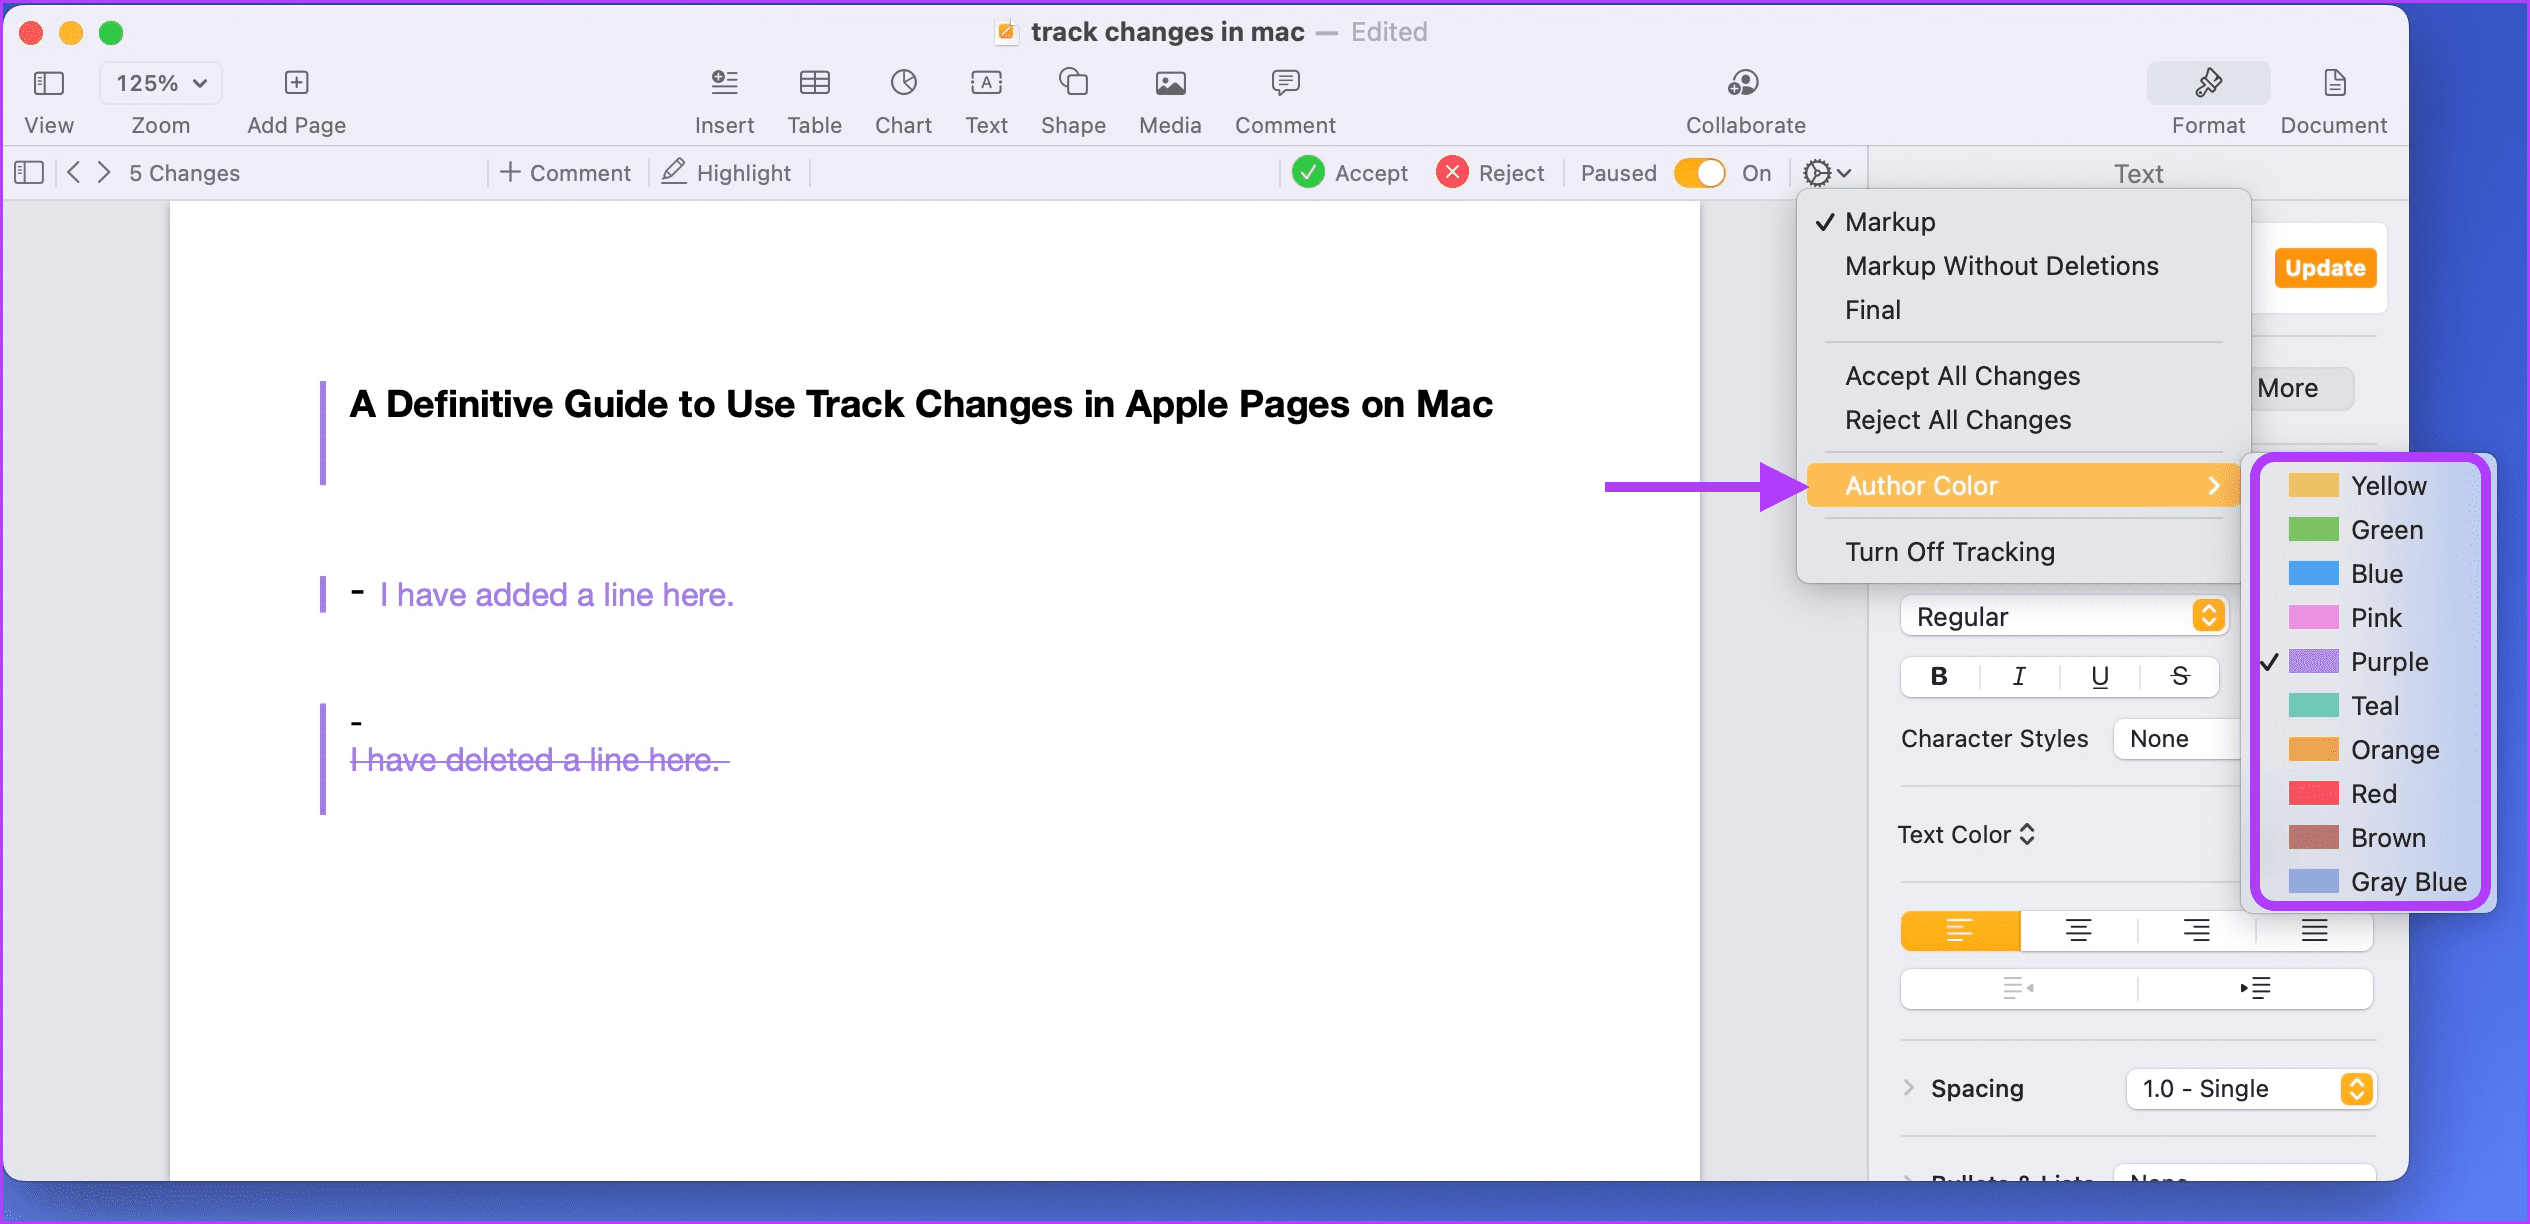
Step 4: Hover over the Author Color option with your cursor and select the color you want.
Accept or Reject Changes
While working on a document or after everyone is done, you might want to review the changes made. Thankfully, you can accept or reject changes made by other writers in Apple Pages. Here’s how to do it. Step 1: Open Spotlight using the Cmd+Space keyboard shortcut and search for Pages. Hit enter to launch the app.
Step 2: Select the document you want to open and click on the Open button in the bottom-right corner.
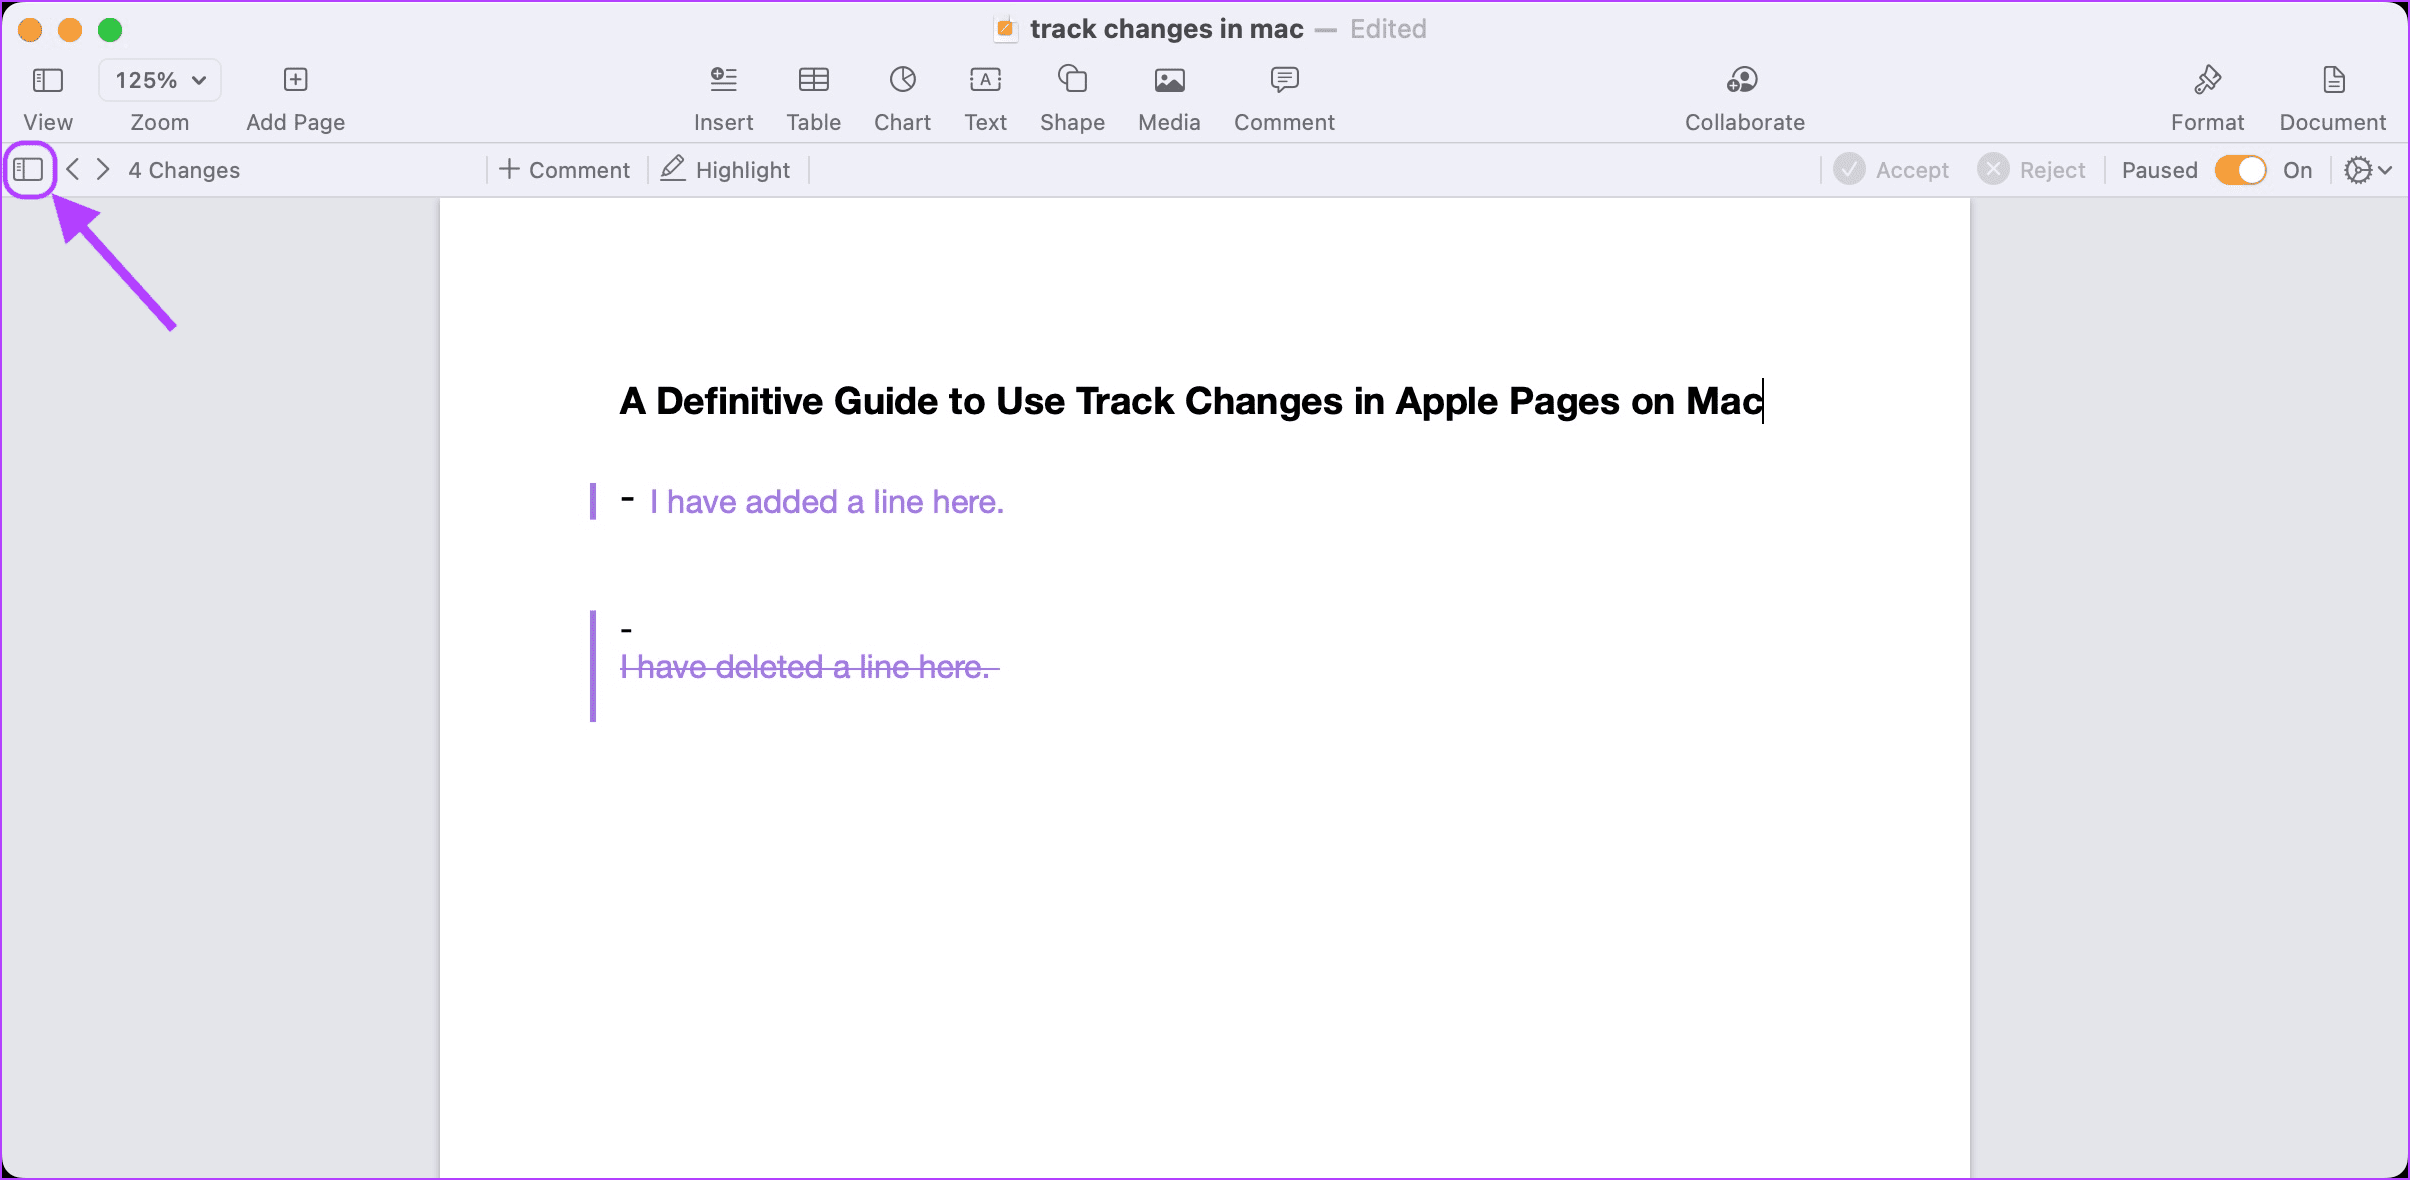
Step 3: Click on the Side Bar button in the top left to see all the changes in one place.
Step 4: Click on the Accept button to accept changes and the Reject button to reject changes.
Pause Track Changes
Apple Pages comes with a handy pause button for pausing tracking of changes in the document. It comes in handy when you want to disable tracking in the document temporarily. Step 1: Summon Spotlight with Cmd+Space keyboard shortcut, search for Pages, and hit enter to launch the app.
Step 2: Select the document you want to work on and click on the Open button in the bottom-right corner.
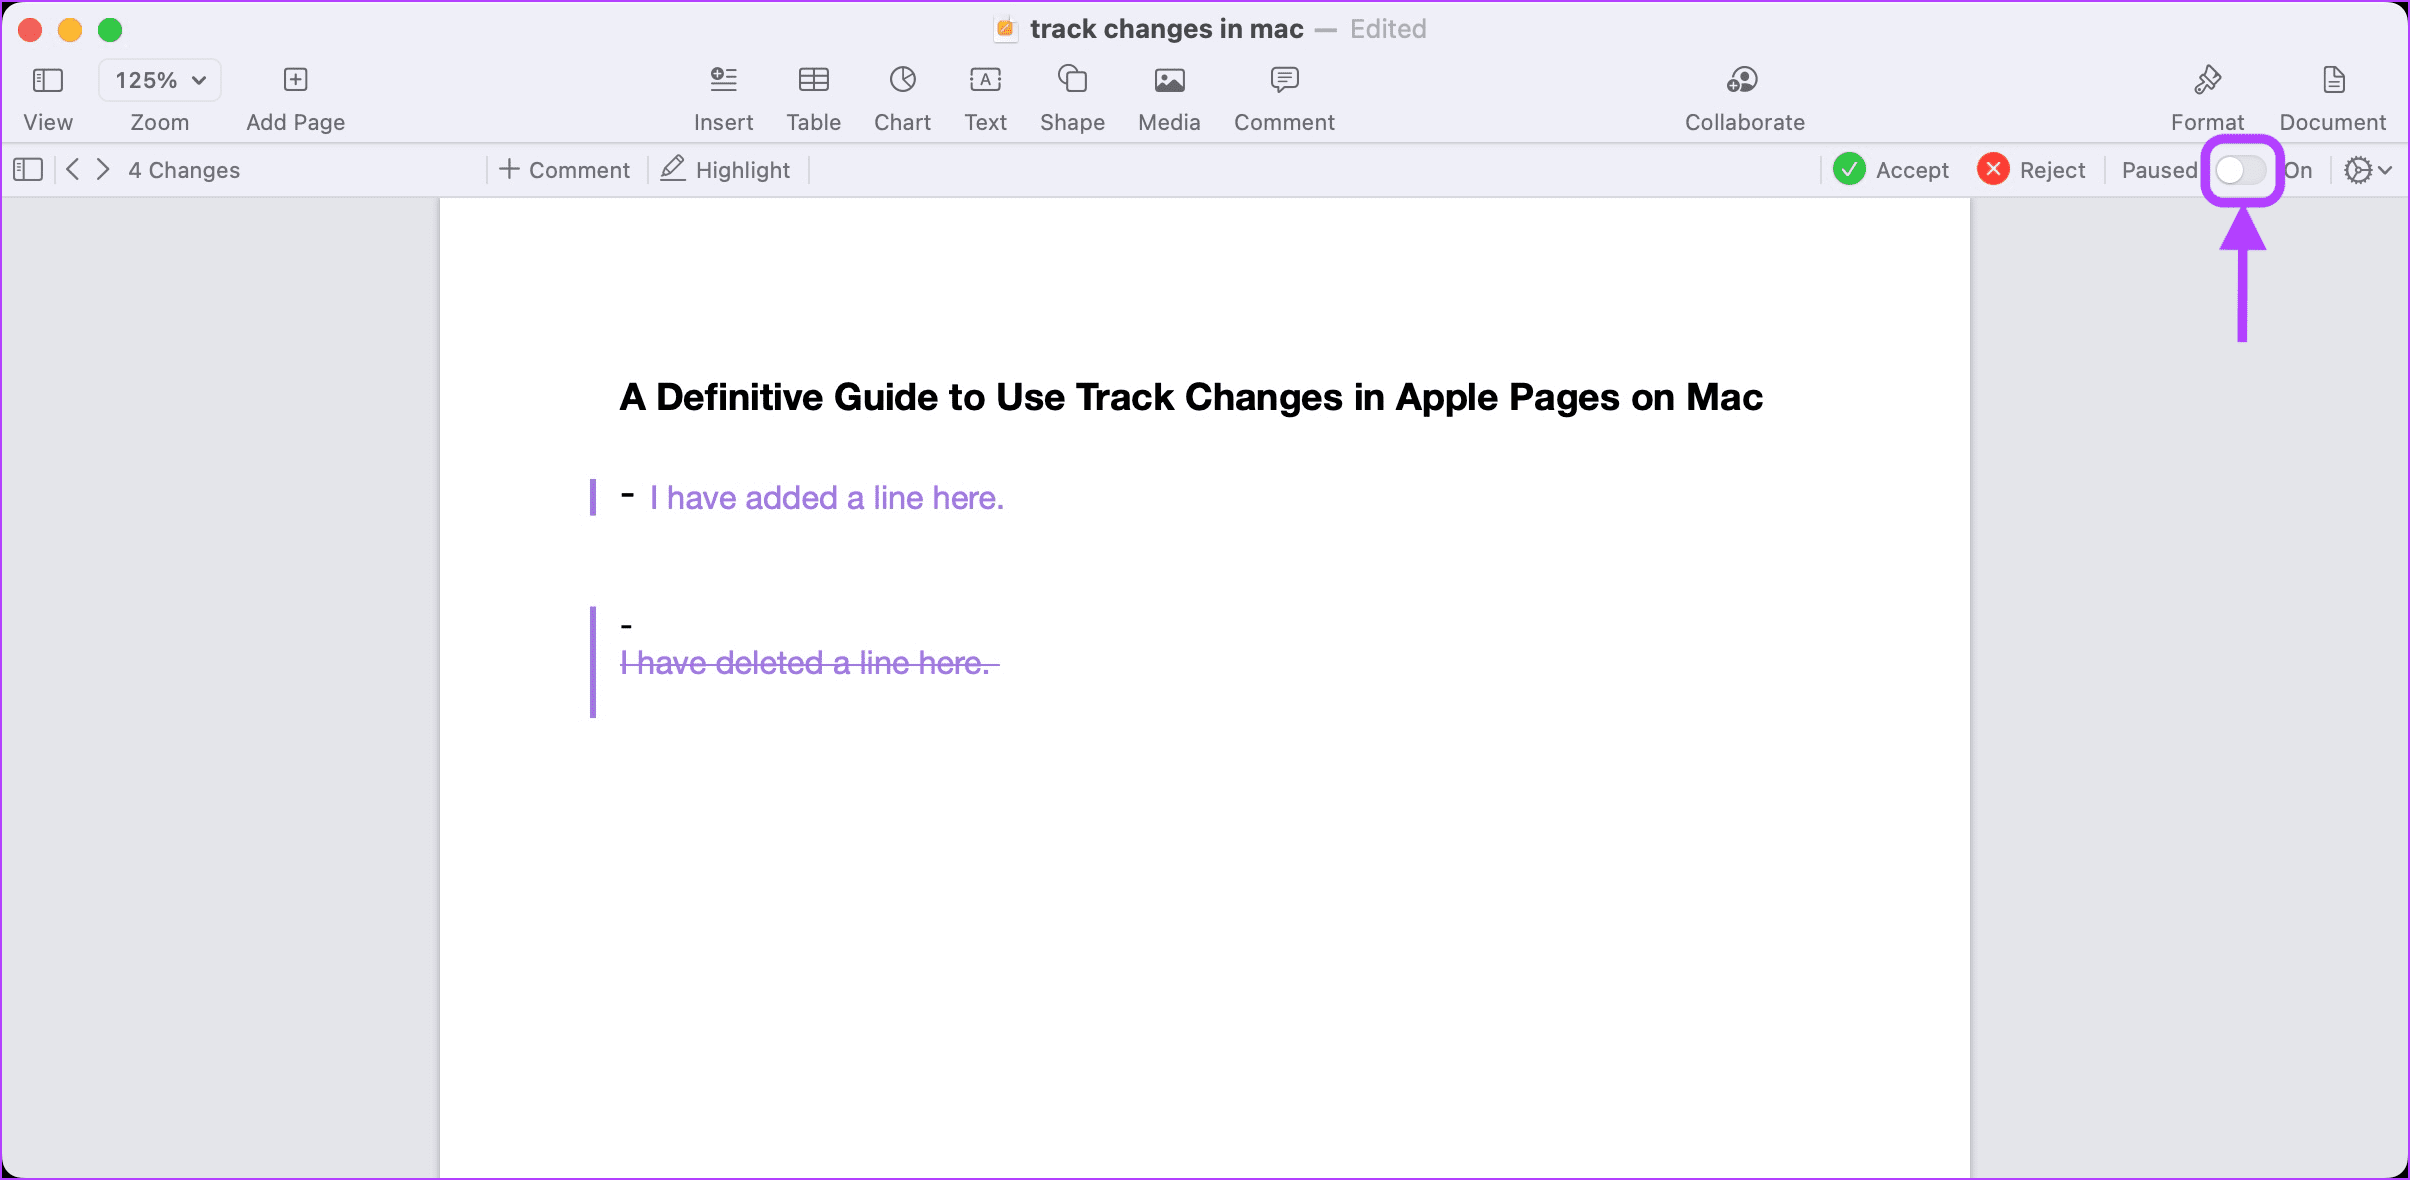
Step 3: Disable the toggle from On to Pause in the upper-right corner to stop tracking changes.
Step 4: Enable the same toggle again when you want to restart tracking changes in the document.
Disable Track Changes
After you’re done dealing with the changes, you can disable the Track Changes option. Note that you will have to accept or reject all changes before turning off this feature. Step 1: Open Spotlight using the Cmd+Space keyboard shortcut, search for Pages, and hit enter to launch the app.
Step 2: Select the document you want to open and click on the Open button in the bottom-right corner.
Step 3: Click on the Edit button in the menu bar and then on the ‘Turn off Tracking’ option to disable the Track Changes feature.
Step 4: If you don’t accept or reject changes made to the document, Pages will show a prompt to ask you to accept or reject all changes at once. Choose the right option, and only then Pages will turn off the Track Changes feature.
Keep a Track of Edits in Apple Pages
Whether working with people or alone, the Track Changes feature will help you improve the documents and workflow in Apple Pages. It makes collaboration easier to manage and organize. Also, you can keep the comments and replies about a document in one place instead of spreading them over emails and messages. The above article may contain affiliate links which help support Guiding Tech. However, it does not affect our editorial integrity. The content remains unbiased and authentic.