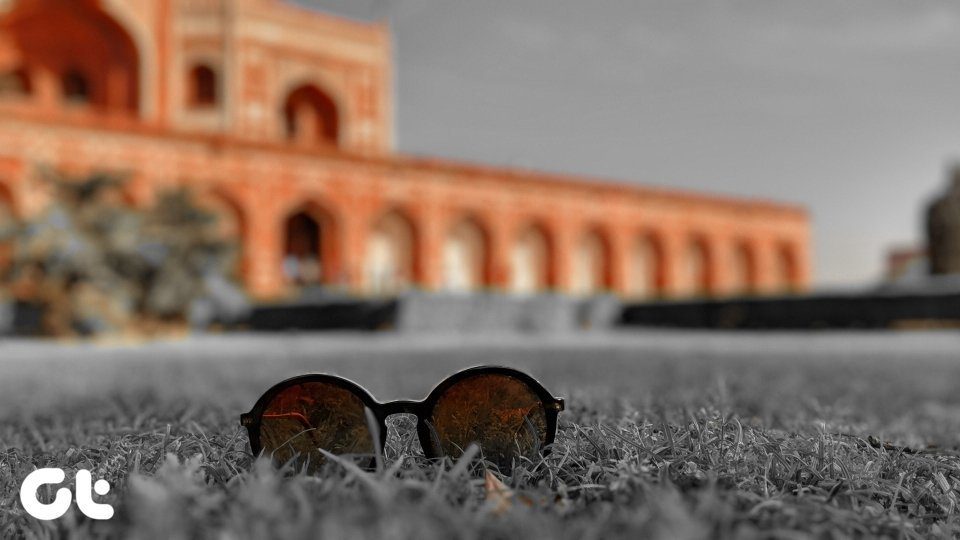
If you are a fan of vintage photography, you’ll definitely like this entry. Here we will show you how to take any conventional photo and create a professional looking black & white version using Photoshop. Let’s get started. Here is the original photo we’ll be using to illustrate this example:
Naturally, you must be wondering if simply using the default black & white option in Photoshop would be enough. While it might be for some of you, in truth, the end result when using more elaborate techniques (the ones you are about to learn here) can be much more elegant and convincingly vintage. Just take a look at our photo converted to black and white using both the fast option (first image) and our more elaborate method (second image).
As you can see, the difference can be dramatic. The second photos look more richly textured and is definitely more evenly colored, giving it a more uniform look. Okay, so without further ado, here’s the process to create these impressive black and white photos. Step 1: Start by opening your photo in Photoshop and then head to the Layers panel at the bottom right of the screen. There, click on the Channels tab to reveal all of your photo’s channels. Here, click on each of them (Red, Green, and Blue) to determine which has the best tonal range to serve as your ‘base’ photo.
Once you have decided on which one to use, press the Command + A keyboard shortcut to select that layer and then use Command + C to copy it to your clipboard. Step 2: Now click on the RGB layer and then switch back to the Layers tab. There, click on the New Layer button to create a new layer.
Once you do and with the new layer selected on the Layers panel, press Command + V to paste the selected channel on that layer. As a result, you will now have two layers on the Layers panel.
Step 3: Now let’s make that black & white layer a bit sharper. For that, click on the Filter menu on the menu bar and select Sharpen first and then Smart Sharpen.
On the Smart Sharpen window there are two options you have to take care of. First, use the Amount slider to fine tune the sharpness of the layer. Then, check the More Accurate checkbox at the bottom of the window.
Cool Tip: Don’t forget you can use the zoom option at the bottom of the photo to get a better picture of how the changes are reflected on it. Step 4: Once you are happy with the result, create a new layer on the Layers palette.
This time we will work with gradients to better highlight sections of the photo that might be underexposed. So with the new layer selected, click on the Gradients tool on the Tools palette and then press ‘D’ on your keyboard to reset the foreground and background colors to black and white respectively.
Next, head to the top of the screen and click on the gradient preview on the tool bar to open the Gradient Editor.
Since our photo is black & white, make sure you select a non-colored gradient. For this example we’ll work with the top left one. Once selected, click on OK.
Step 5: Now, what you want to do here is to bring more light to the darkest areas of your photo. In this case, you will notice that the lower right area of this photo is too dark, so to brighten it, click to start your gradient on the most ‘clear’ part of your photo and the drag it towards the darkest part. The layer now will show the resulting gradient.
Step 6: Now, as a last step, head to the Layers panel and there click on the down-pointing arrow and select Overlay from the available options. After you do, tweak the opacity level until you are pleased with the resulting photo.
As you have seen, these Photoshop options go far beyond a fast tweak and really allow you the degree of control you need to make your black & white photos look exactly the way you like. Have fun editing! The above article may contain affiliate links which help support Guiding Tech. However, it does not affect our editorial integrity. The content remains unbiased and authentic.


![]()


