There’s an easy way to create an email group in the Mail app on Mac. This post will show how to create an email group in the Mail app on iPhone to send emails to a large group on the go. Before starting with the steps, we recommend checking whether you have the latest version of the Mail app on your iPhone or not. You need to check for an iOS update by following these steps. Step 1: Open the Settings app on your iPhone.
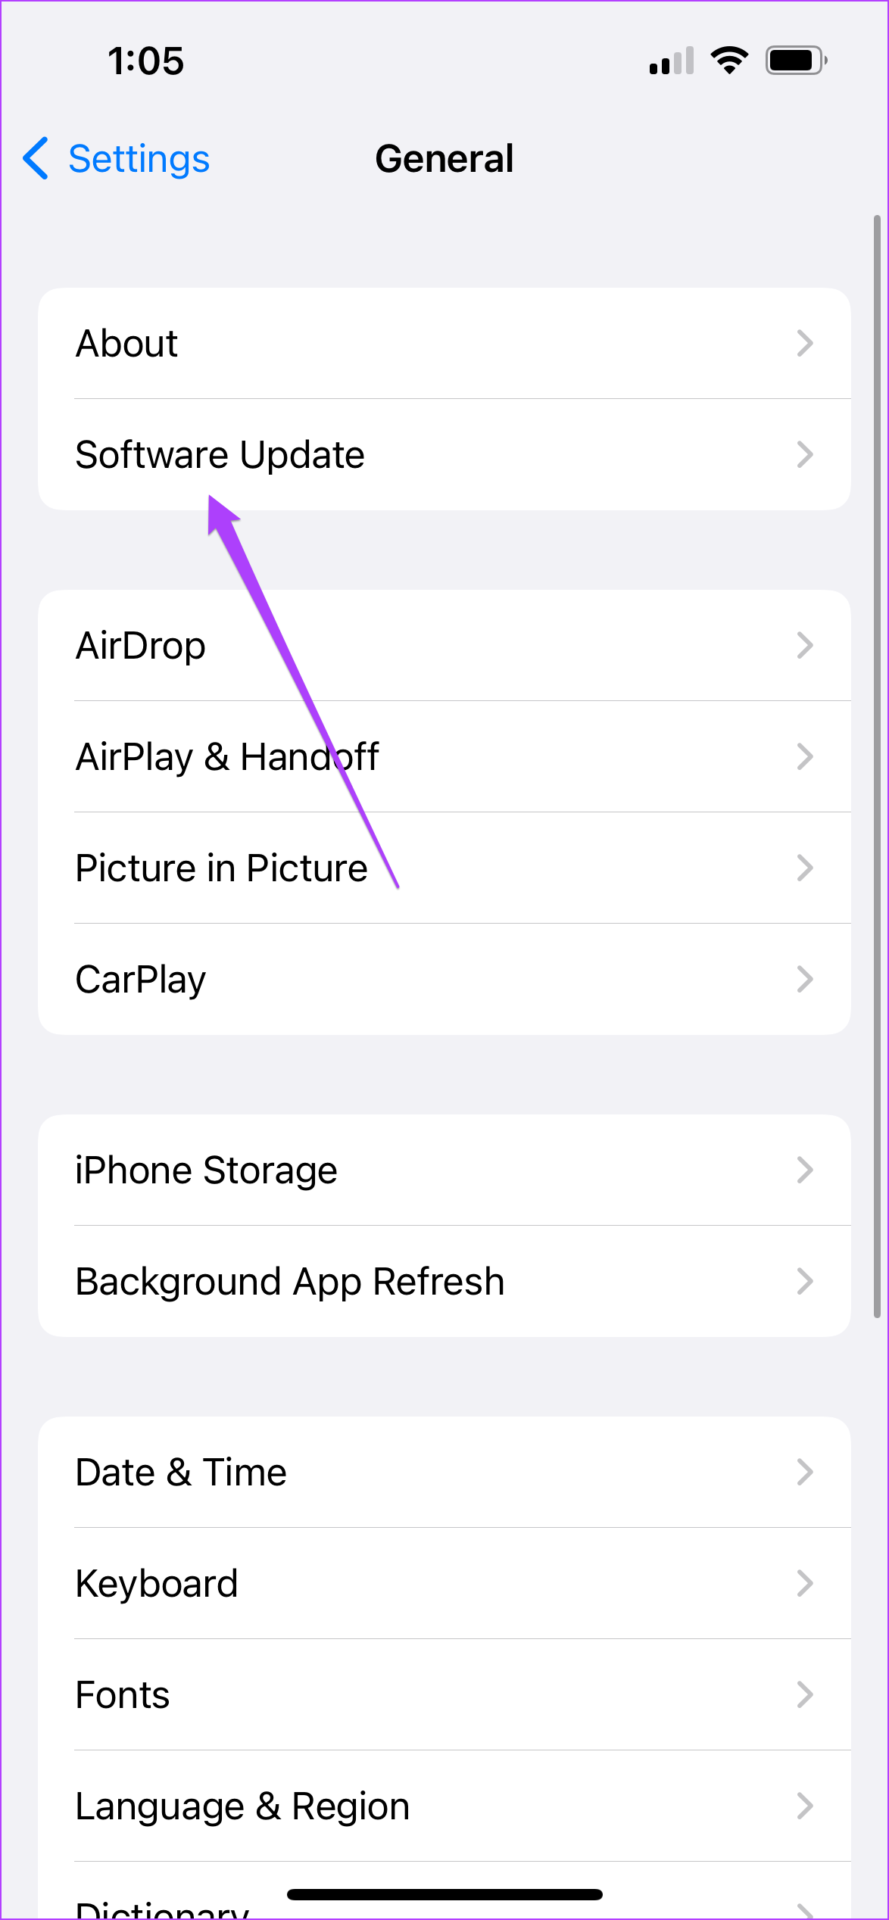
Step 2: Scroll down a bit and tap on General.
Step 3: Tap on Software Update.
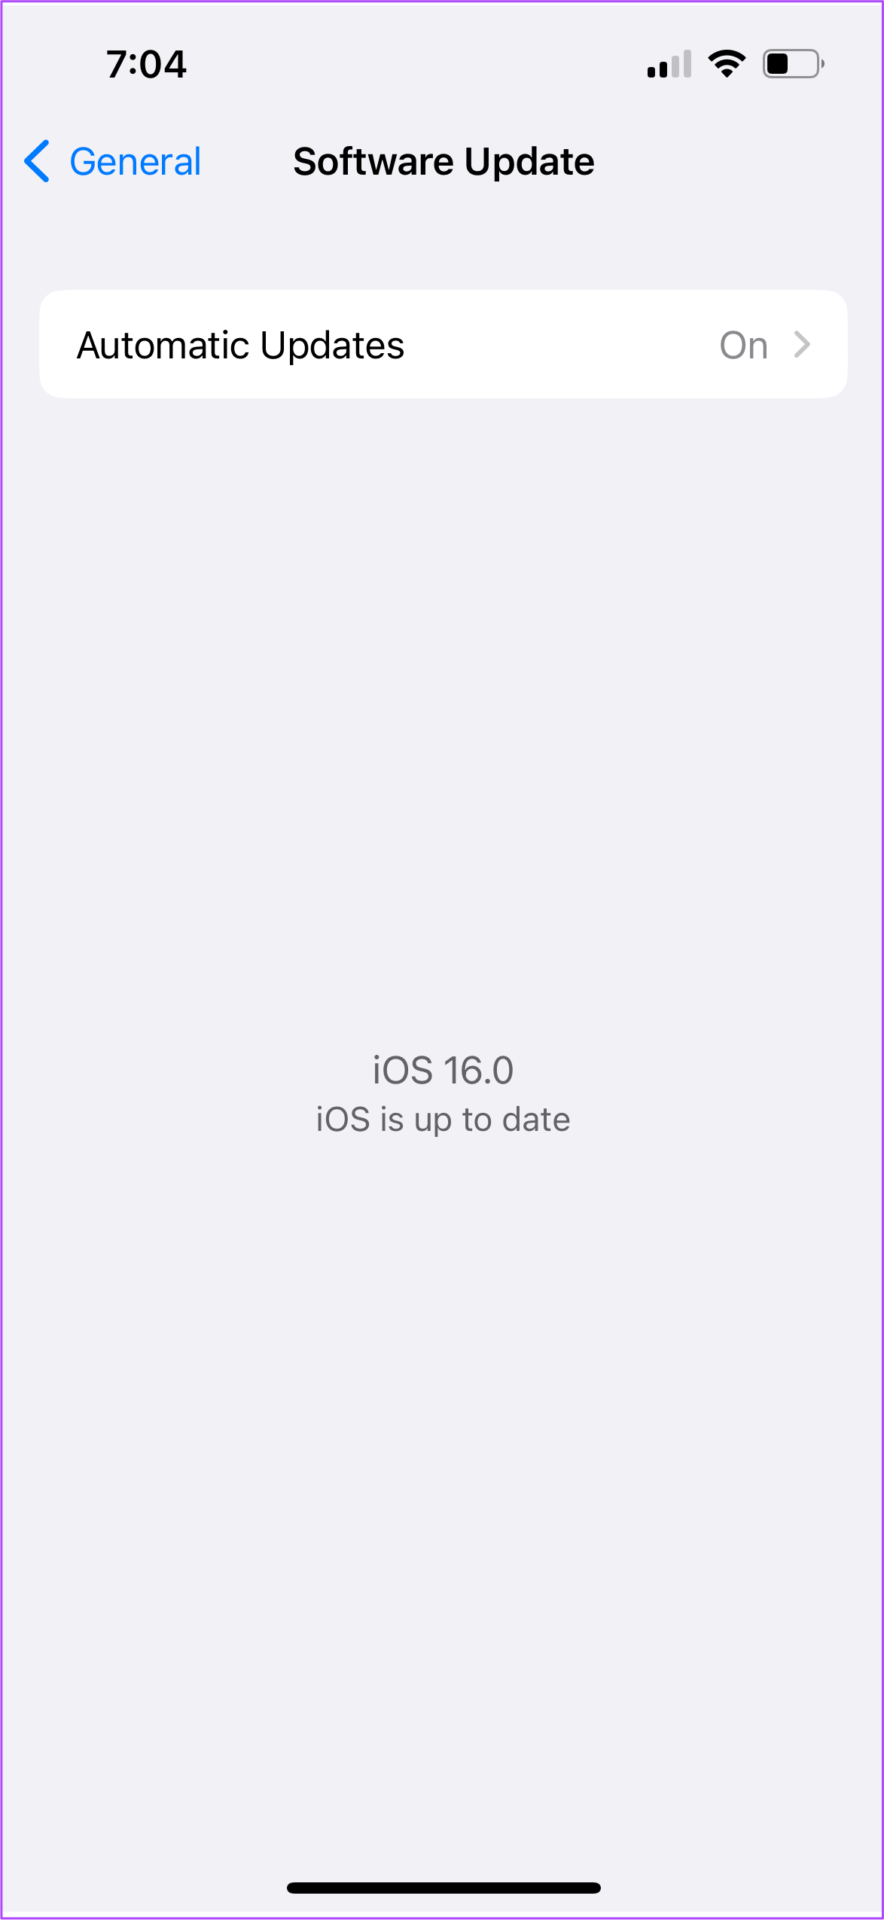
Step 4: If there’s an update available, download and install it.
Create a New Group Using Contacts App
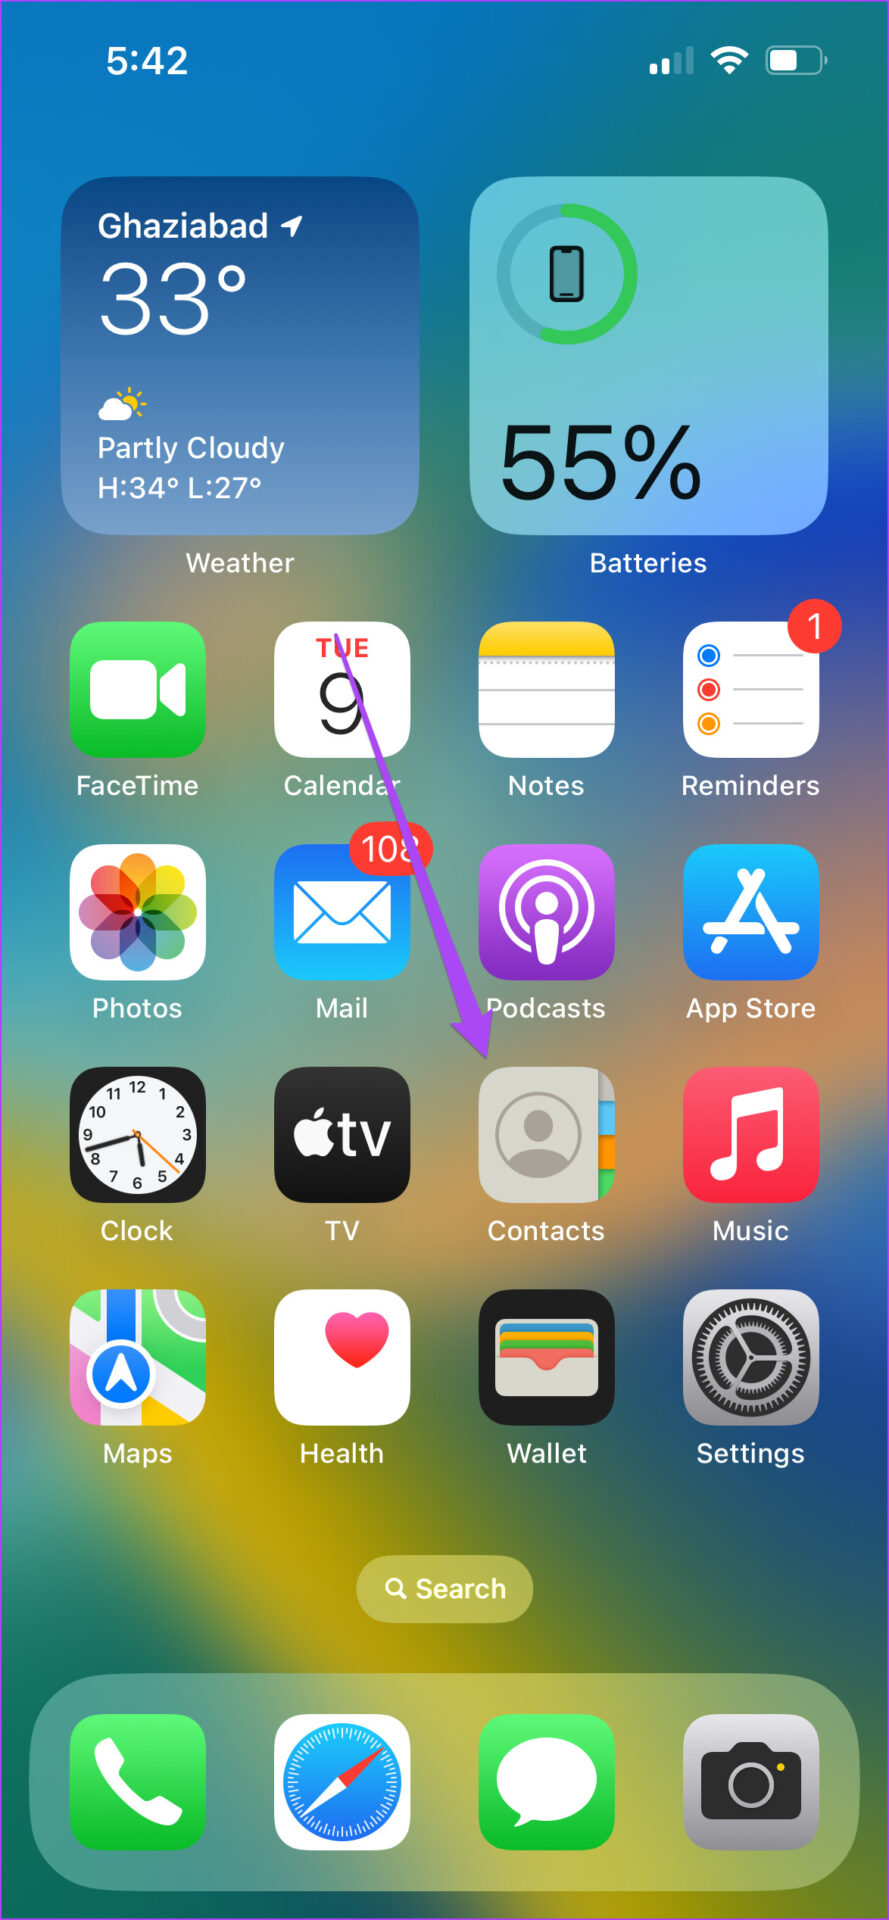
Let’s start by creating a new group using the Contacts app on your iPhone to create an email group. Here’s how to do it. Step 1: Open the Contacts app on your iPhone.
Step 2: Tap the Plus icon at the top-right corner.
Step 3: Tap on Last Name to add the name of your contact group.
Step 4: After entering the group name, scroll down and look for the Notes section.
Step 5: Type all the email addresses in the Notes section that you want to add to the group. Make sure that you separate the email addresses with a comma. Step 6: After entering all the emails, long press in the Notes section and tap on Select All. Then tap on Copy.
Step 7: Scroll up and tap on Add Email.
Step 8: Long press and tap on Paste to add all the selected emails from the Notes section.
You can also tap and edit the email Label as per your preference.
Step 9: After pasting the email addresses, tap on Done in the top-right corner.
Your Contact Group has been created and will be usable as the email group. You can keep adding or removing email addresses using the steps mentioned above.
Send Email to Contact Group Using Mail App
After creating the Contact Group, here’s how you can use it as an Email Group to send bulk emails using the Mail app. Step 1: Open the Contacts app on your iPhone.
Step 2: Select your newly created Contact Group.
Step 3: Tap on Mail in the top-right corner.
The popup for the Mail app will open on your screen to compose a new email. You will notice that all the email addresses mentioned in the group are added automatically.
Step 4: Compose your email and tap the blue arrow to send it.
Send Email to Contact Group Using Gmail or Outlook
If you want to use the same Email Group for sending group emails via Gmail or Outlook, here’s how to do it. Step 1: Open the Contacts app and select your newly created Email Group.
Step 2: Long-press on the contact details in which the email addresses are mentioned and tap on Copy.
Step 3: Close the Contacts app and open Gmail or Outlook. We are using Gmail as an example. Step 4: Compose a new email and paste the copied email addresses in the ‘To’ field.
Step 5: Tap on Allow Paste to confirm your action.
Step 6: Write the body of your email and send it.
Delete Email Group From Contacts App
Here’s how you can edit your Email Group by deleting a contact/recipient using the Contacts app on your iPhone. Step 1: Open the Contacts app and select your Email Group.
Step 2: Tap on Edit in the top-right corner.
Step 3: Scroll down and tap on Delete Contact.
Step 4: Tap on Delete Contact to confirm your choice.
Send Group Emails From Your iPhone
Sending group emails will save you a lot of time whenever you have to share the same piece of information with different contacts. You can also now schedule your emails with the macOS Ventura update. We have also compiled a list of solutions for Apple Mail Search not working on Mac. You can look at them if you have ever faced this issue. If you’ve been meaning to switch your email client, check our comparison of Apple Mail and Outlook to manage your emails better. The above article may contain affiliate links which help support Guiding Tech. However, it does not affect our editorial integrity. The content remains unbiased and authentic.