While capturing a screenshot is quite straightforward, there’s a lot you can do afterward. In this post, we’ll go through all the tools you can use to edit screenshots on your iPhone. So, let’s get right to it.
Getting Started
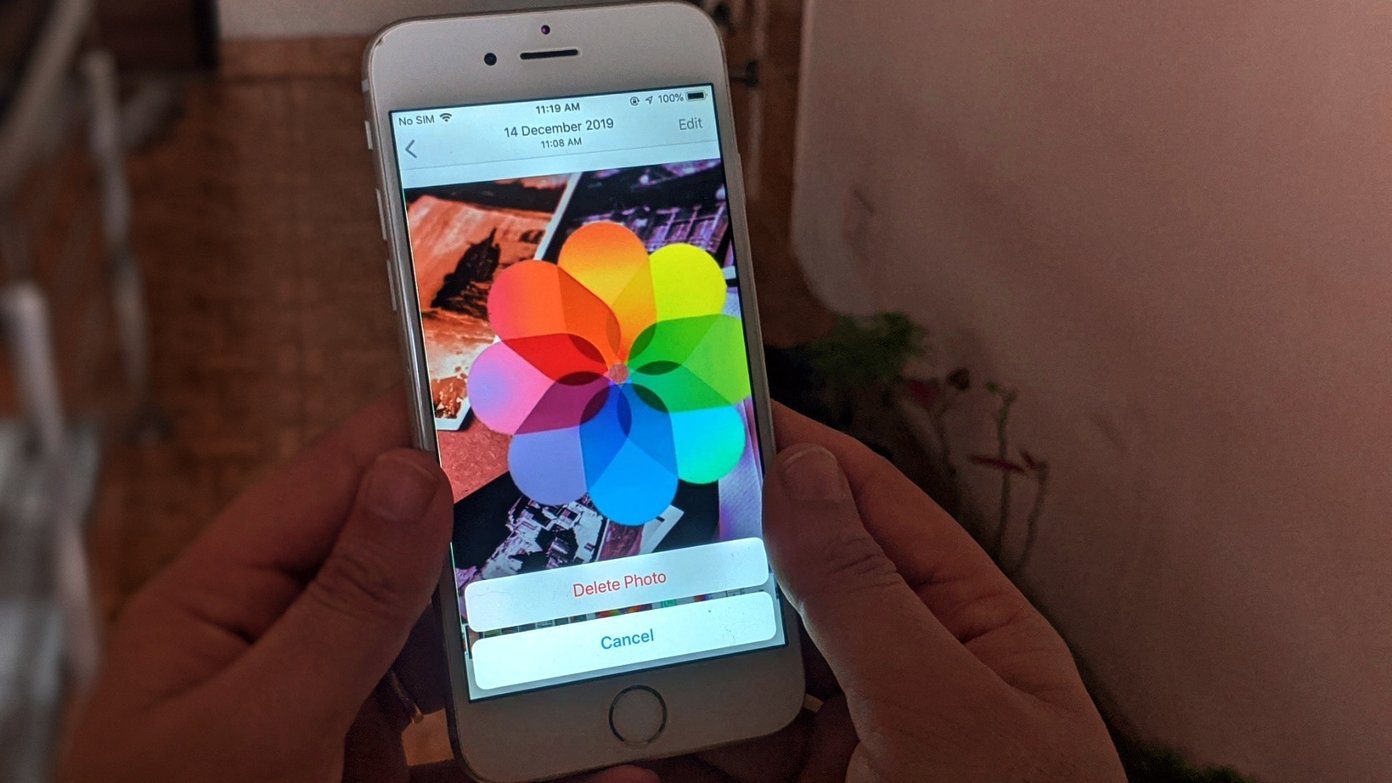
Once you’ve captured a screenshot on your iPhone, a small thumbnail will appear in the screen’s bottom-left corner. Tap on it to view your screenshot. After opening the screenshot, tap on the Markup icon at the top, and a bunch of editing tools will appear at the bottom.
Crop and Scale Your Screenshot
Not every element of your screenshot is always important. So, start by cropping out unwanted parts of the screenshot. Tap and drag one of the corners or sides of the border to crop your image. Similarly, you can also use your fingers to perform the pinch in or out gesture to scale your screenshot.
Draw on Screenshot
On the Markup screen, you’ll see a couple of tools at the bottom. You can choose from the available pen styles to easily draw arbitrary shapes or highlight a part of your screenshot. Select a pencil, pen, or a highlighter from the toolbar below and choose a preferred pen size to start drawing. Use the color picker tool to select a color for your pen, pencil, or highlighter. You can use the Lasso tool to trace a circle around the drawing and drag it. Additionally, there’s also a Ruler tool to draw straight lines. Tap on the Ruler to add it to your screenshot and place it in a preferred location. If you make a mistake at any point, use the Eraser tool to erase a part of an object or the entire object itself.
Add Text to Screenshot
Aside from drawing, you can also add a text on an image. For that, tap on the Plus icon in the bottom-right corner and select Text from the menu that pops open. Type in your text and move the text box to a preferred location. Tap on aA icon in the bottom left corner to change its color, font, size, alignment, etc.
Add Signature to Screenshot
Like adding a text box, Markup also lets you add your signature to the screenshot. You have to tap on the Plus icon and select Signature from the menu. You can add a new signature or drop one of your previously saved signatures from the menu that pops up.
Add Shapes to Screenshot
The Markup tool also presents you with a few basic shapes that you can use in your screenshot. Tap on the Plus and choose from the available shapes. Once added, use the blue dots around the shapes to resize the object. Tap and drag the green dot to add a curve a shape. You can achieve this with the square, round, or speech balloon shapes as well. For instance, you can take advantage of the rectangle shape and change its border size to hide out sensitive information like email addresses, contact details, and so on.
Magnify a Part of Screenshot
Another way to bring focus directly to a part without cropping out the screenshot is with the Magnifier tool. You can use it to enlarge a particular area that you want the viewer to focus on. Tap on the Plus icon to select the Magnifier tool. Once added, rotate the green dot clockwise or counterclockwise to increase or decrease the magnification respectively. Similarly, tap and drag the blue dot in or out to enlarge the magnifier. You can use the opaque tool in conjunction with the magnification tool to hide irrelevant information. Tap on the Plus and choose Opacity from the list. Then use the slider to increase or decrease its intensity.
Undo or Redo Tool
If you make a mistake while editing your image, you can use the backward or forward arrows at the top to undo or redo changes. Alternatively, if you wish to remove a shape, text box, or signature without going back and forth, tap on the object and select Delete from the menu.
Save and Share Screenshot
After editing your screenshot, tap on the Done button in the top left corner to save your edited screenshot. Alternatively, tap on the share button up top to share the screenshot.
Editing Made Easy
The Markup tool on iPhone certainly makes it easy to edit screenshots with various options. Hopefully, the above guide has given you a clear understanding of all the tools available. If you’ve any questions, ask us in the comments below. The above article may contain affiliate links which help support Guiding Tech. However, it does not affect our editorial integrity. The content remains unbiased and authentic.