Disclaimer: This is merely our quick guide on rooting the said device though we urge you to continue AT YOUR OWN RISK. We do not take responsibility in case anything goes wrong though our forum is always open to questions and doubts. Have a look at our take on the pros and cons of rooting, in case you are unsure.
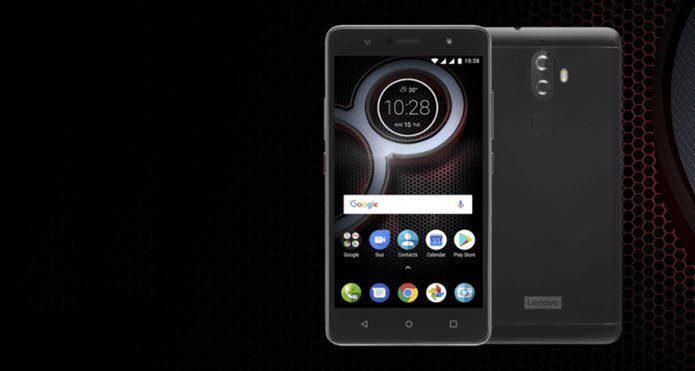
How to Root Lenovo K3 Note (K50a40) with CWM Recovery and PDAnet
Here, the reason we are using PDAnet instead of SPFTools is that SPFtools sometimes does not accept special ports and also has problems on Windows with the signed drivers. This is the safest method that I know of. So, let’s begin.
Pre-Requisites:
Download this zip folder which contains – Lenovo Drivers, CWM Recovery image, Minimal ADB, Fastboot and Supersu.zip.Minimum 35% battery needed.Lenovo USB Cable.
Extract the files and copy supersu.zip to phone storage. I’m making you do this before hand because this is the only thing that you’re going to copy to your phone. Now, follow the below steps given carefully and in this order only:
Step-1
Install Lenovo drivers from the extracted zip folder – Lephone 2.0.
Step-2
After installing it. Now, you have to install PDAnet on PC and your phone. Connect your phone via USB cable to your PC. Make sure you keep USB debugging ON. Start installation of PDAnet. During installation, the software will also install PDAnet on the K3 Note. In order to do so, you’ll have to give permissions for USB Debugging. You’ll get RSA fingerprint key in your phone which you’ll have to accept. Also, select the option Alway allow this Computer and hit OK. This will install PDAnet on PC and your phone. Now, next step is to install CWM recovery through ADB using Fastboot.
Step – 3: Installing CWM Recovery in Fastboot mode using ADB
Keep your phone connected via USB cable. Now go to following folder Minimal ADB and Fastboot > py_cmd.exe. It’s a command prompt application. Now, paste the code given below in command prompt and hit enter. This code will find the attached devices to your PC. And it should show your phone running in the List of device attached. It will show a codename for your device. If your device in not listed then, remove the USB cable and connect it again. Also, restart the application and again enter the above code. It should show your device. Here, take a look at this log as reference. Next, enter the following code. This will reboot your device into Fastboot mode. You’ll get a completely black screen with Fastboot Mode written in very small font in the bottom. Also, enter this code to make double sure that device enters into Fastboot mode. Now, the next code will install the CWM recovery image to your phone. This next code will reboot your device. But, here’s the tricky part. After you hit enter for the code you’ll have to immediately press the button combination to get into phone recovery. The button combination is Volume Up + Volume Down + Power Button. Now, copy the code and hit enter. Now, immediately press the button combination. The Lenovo logo should show up. When it shows up leave the power button and keep holding volume buttons. This will take you into CWM recovery. Well, if you miss pressing the combination you can perform this step again after it reboots. But, you’ll have to perform the entire step-3 again.
Step-4: Installing Upadte-supersu.zip
Keep your phone connected via USB cable. Use volume up and volume down buttons to go up and down the option and power button to enter. You’ll get to choose your language. Well, there’s only two of them. English and probably Chinese. On the next screen select install zip. Next, select choose zip from /sdcard. Now, search for the supersu.zip folder to install. It should be at the bottom of the list. On the next screen hit Yes to confirm installation. After installation completes you should get the following screen. Now, after successful installation of SuperSU.zip file, go back to reboot options and hit system reboot.
Step-5: Verify Root
You should now see the SuperSU app in your app drawer. There are many methods to check whether it’s rooted. You can install Root Checker Basic and verify root. You’ll have to grant the Superuser access to the app.
Conclusion
Well, that’s it. You have now rooted your Lenovo K3 Note. The beast is unlocked. Now, you have a new arena to explore. In the next guide, I’ll show you how to install a custom ROM on Lenovo K3 Note. The above article may contain affiliate links which help support Guiding Tech. However, it does not affect our editorial integrity. The content remains unbiased and authentic.