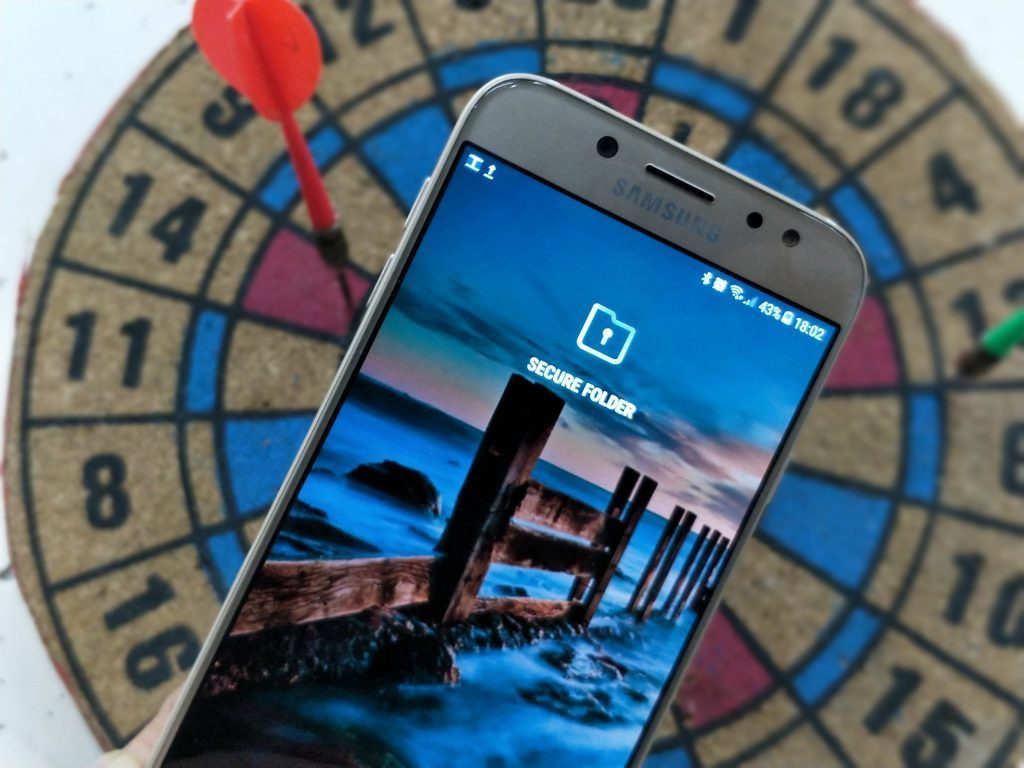
Well, that’s what we are going to focus on in this post today as we show you how to transfer the content of the Samsung Secure folder to your new phone. But before we get down to it, let us tell you a few limitations. In the good old days, restoring old files & apps on a new phone was fairly simple. You had to take a backup of the old files and then restore that particular backup on the new phone. As simple as that. Recently, Samsung has removed the option to backup your files, apps, and folders into the Secure Folder after a few flaws were detected in some pre-installed Samsung apps including Secure Folder. While the native backup option is absent, we’ll have to go via the old route, where we will restore the Secure Folder contents into the primary space, and then continue the transfer process from there. Note: Your files will no longer stay encrypted during the time it stays out of the Secure Folder. If you are okay with your files remaining in an unencrypted space for the amount of time it takes to transfer the content, read on to find how to proceed with the whole operation.
How to Move Items Out of Secure Folder
Step 1: Open the Secure Folder on your phone and tap on Gallery. Select all the photos that you want to move to the new phone and tap on More. Step 2: Next select Move out of Secure Folder. Do the same for all the other files. The process is mostly the same. Simply select the items, tap on More and select Move out of Secure Folder. Once all your files have moved to a new place, there are two ways to go about it.
Method 1: Simple Backup
Step 1: Head over to Settings > Accounts and Backup and select Backup data. Now, you will get two options: Samsung Cloud backup and Google Drive backup. Select either one as per your preference, and once done, let the backup complete. Step 2: On your other Samsung phone, head over to Settings > Accounts and backup and select Restore data. With this method, you simply do an overall backup of all your data to your Samsung account. This data will have all your apps, files, and folders. Quite obviously you will have to sign up using the same Samsung account on both phones. The easiest way is to use the Smart Switch. Using this, you can transfer content from an older Samsung device with ease.
Method 2: Zip and Backup the Individual Files
If you do not want to go through the generic route, the ideal way to go about it would be to select the individual files and zip them up. One of the best apps to zip files on Android is RAR. RAR is from the same guys who gave us Winrar. The good part is that it lets you encrypt and password-protect your files. It’s a free app. However, you can choose to donate if you are happy with the service. Get RAR Naturally, RAR needs All Files permissions since it handles file operations. Step 1: Once RAR is installed, open the app and head over to the folder you want to compress. In our case, we only have Photos and screenshots to take care of. Once the photos have been selected, tap on the Plus icon at the top. Step 2: Set the name of the Archive. Next, tap on the Set Password option to well, set the password. Now, all you need to do is tap on the Ok button to create the RAR file. Select the Delete Files option if you want the files removed after the RAR folder is created. By default, it will create a RAR file in the same folder location. RAR gives the option to create both RAR files and ZIP files. However, as per the makers, the former offers a better compression ratio, data recovery, and encryption. Step 3: Once the RAR has been created, open Google Drive and select Plus icon > Upload > My Files > Internal Storage. From there, head on to the location where you created the RAR folder and tap on Upload. Once the upload is complete, all you need to do is download the same on the other smartphone and un-zip it. Naturally, you will need RAR on the other phone as well. And as you guessed, move them individually to the Secure Folder.
Get the Move Going
The method mentioned above is feasible for files, folders, and photos. However, when it comes to moving apps, the best way would be to install the new copy, and then moving it back to the Secure folder, rather than this long method. The above article may contain affiliate links which help support Guiding Tech. However, it does not affect our editorial integrity. The content remains unbiased and authentic.


