If you’re experiencing a similar issue, we’ll walk you through some quick and easy ways to remove a stuck print job on Windows 11 So, let’s get right to it.
1. Clear Print Queue Using the Settings App
One of the most straightforward ways to remove a stuck print job is to clear the entire print queue. Here’s how to do the same using the Settings app in Windows 11. Step 1: Open the Start menu and click the gear-shaped icon to launch the Settings app.
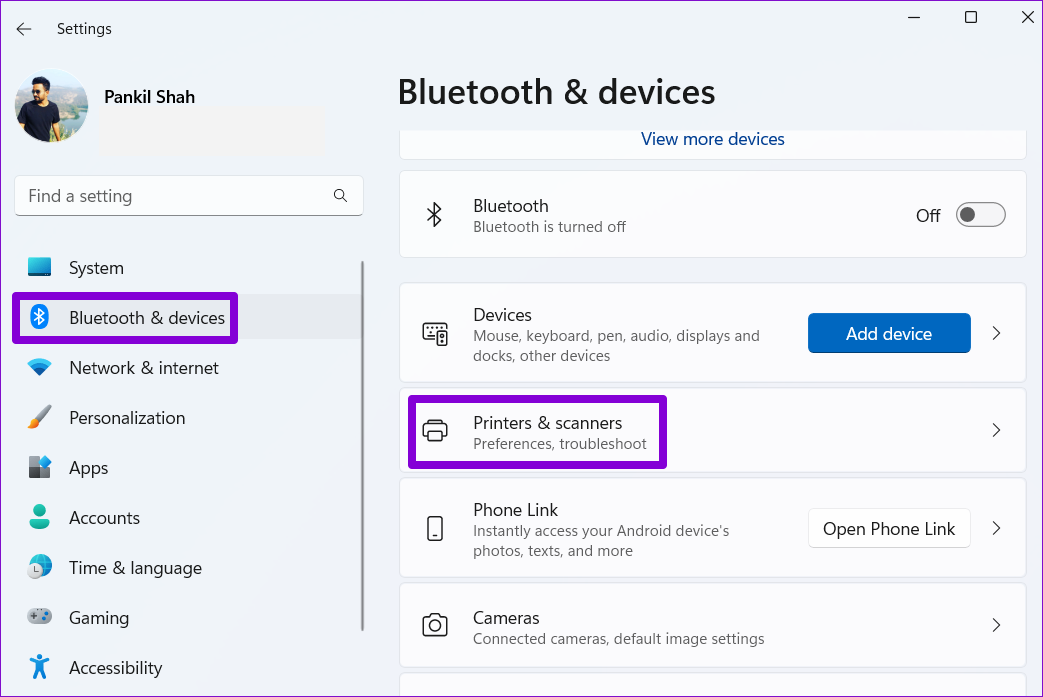
Step 2: Navigate to Bluetooth & devices and click on Printers & scanners.
Step 3: Select your printer from the list.
Step 4: Click on Open print queue.
Step 5: Click the three-dot menu in the top right corner and select Cancel all.
2. Restart the Print Spooler Service
Print Spooler is an essential service that handles print operations on Windows. It temporarily stores the print jobs and sends them to the printer. So the print jobs may get stuck if the service runs into an error or stops functioning. In most cases, you can fix any issues with the Print Spooler service by restarting it. Here’s how to do it. Step 1: Press the Windows key + R to open the Run dialog. Type services.msc in the box and press Enter.
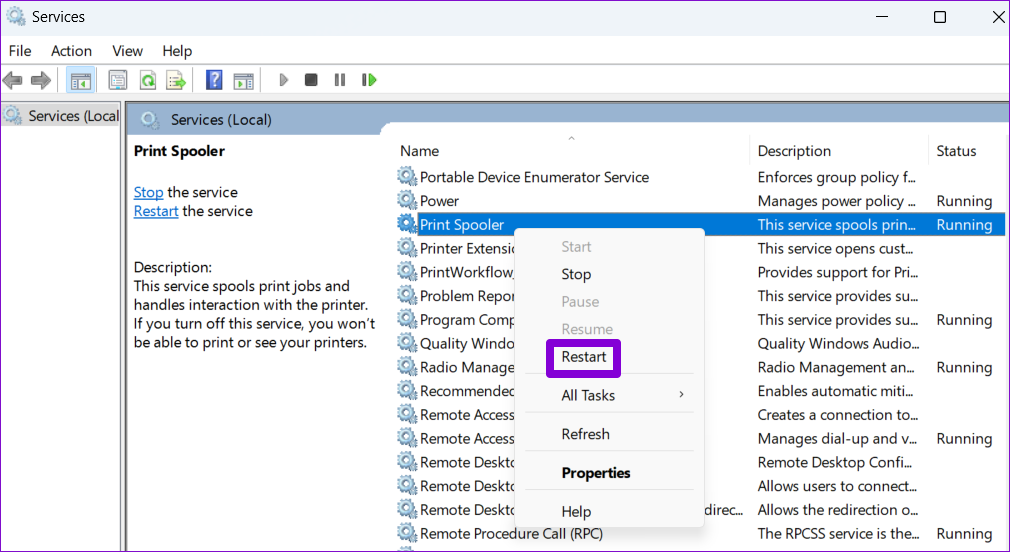
Step 2: In the Services window, scroll down to locate Print Spooler. Right-click on it and select Restart. If the service is not running, select Start.
Wait for Windows to restart the Print Spooler service. Following that, you can delete print jobs from the queue.
3. Use Command Prompt to Clear Print Queue
Occasionally, Windows may prevent you from clearing the print queue due to a lack of permissions. In that case, you can open Command Prompt with administrative privileges and run a few commands to clear the print queue. Here’s how you can go about it. Step 1: Right-click on the Start icon and select Terminal (Admin) from the list.
Step 2: Select Yes when the User Account Control (UAC) prompt appears.
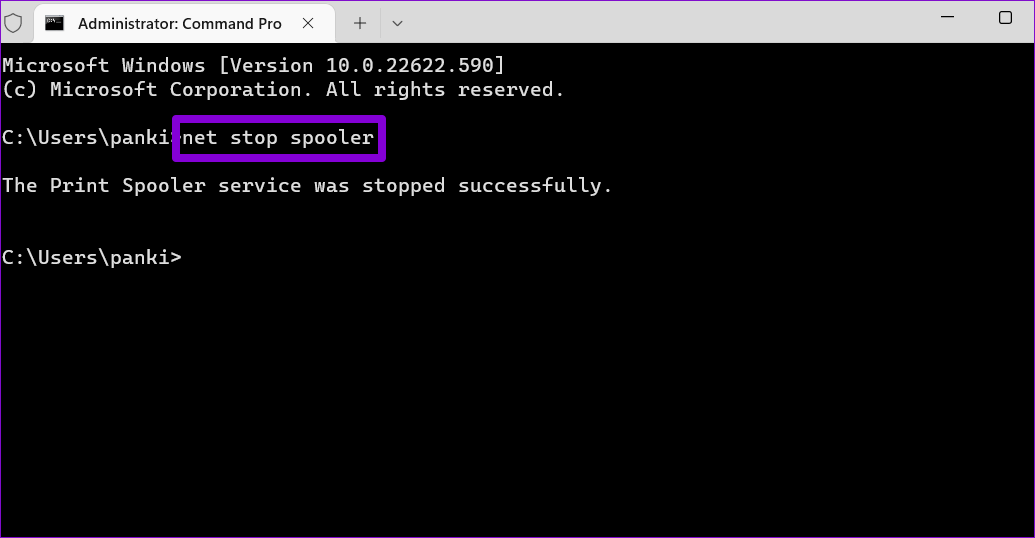
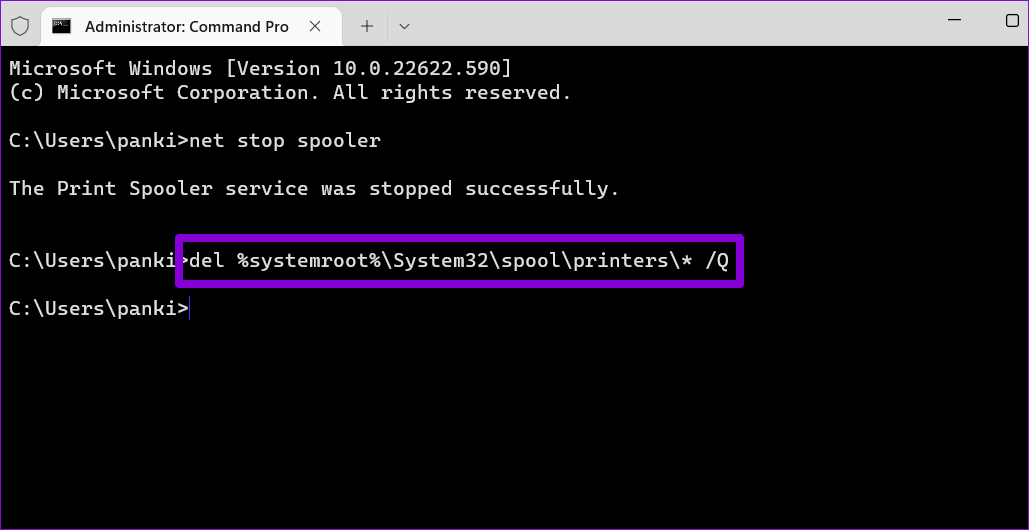
Step 3: Paste the following command and press Enter to stop the Print Spooler service.
Step 4: Run the following command to clear the print queue.
Step 5: Paste the following command to start the Print Spooler service.
These commands will help you clear the print queue.
4. Clear Print Queue Manually From File Explorer
Windows stores all your print jobs in the printer directory before printing. Deleting files from the printer directory also removes them from the print queue. For that, you must stop the Print Spooler service on your PC. Step 1: Press the Windows key + S to open the search menu. Type services in the box and press Enter.
Step 2: In the Services window, scroll down to locate Print Spooler. Right-click on it and select Stop.
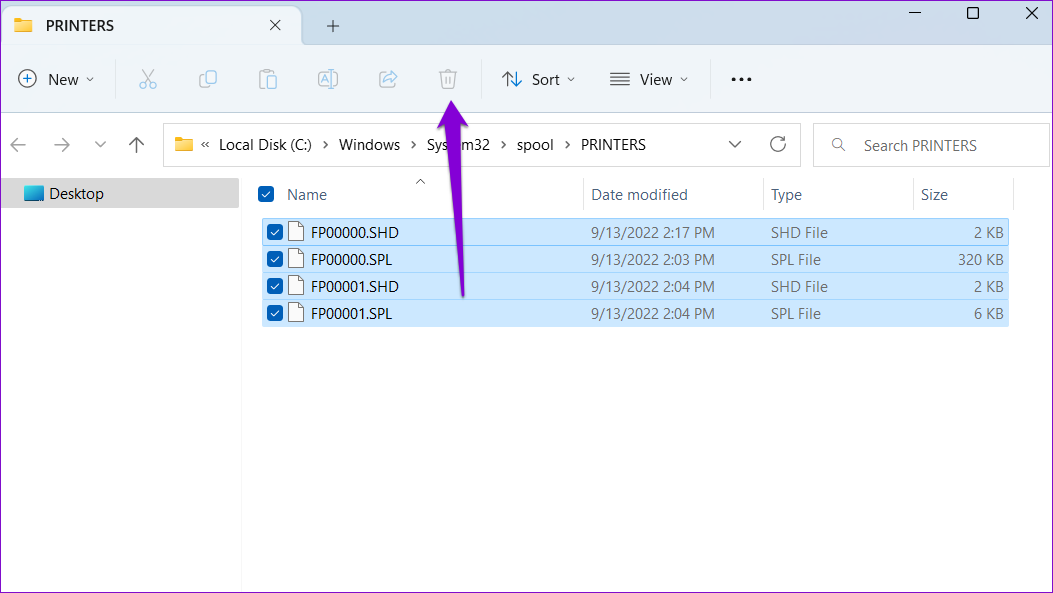
Step 3: Press the Windows key + R shortcut to open the Run dialog box. Paste the following path in the Open field and press Enter:
Step 4: In the File Explorer window, select all files and click the Trash icon at the top. That will purge all the print jobs.
Step 5: Switch to the Services window after deleting the files. Right-click on the Print Spooler service and select Start.
5. Reinstall Printer Driver
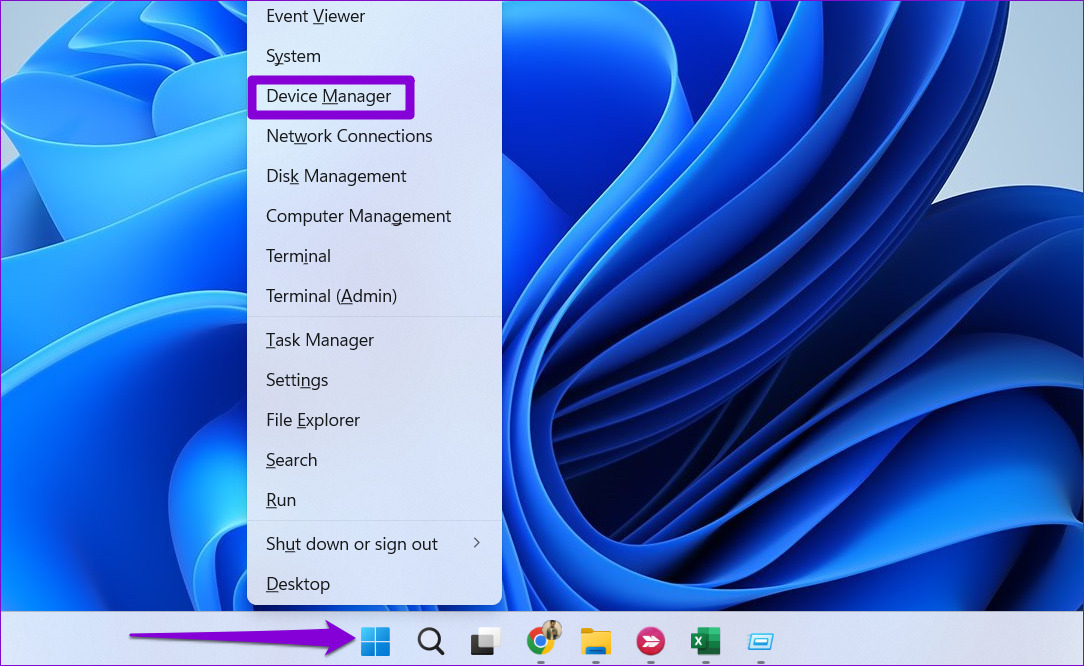
Printer drivers on your PC allow Windows to communicate with your printer device. But if the current printer drivers on your PC are malfunctioning, you’ll face all kinds of printer issues, including this one. You can try reinstalling the printer drivers to fix the issue. Here’s how. Step 1: Right-click on the Start icon and select Device Manager from the list.
Step 2: Expand the Print queues section, right-click your printer, and select Uninstall device.
Once removed, go ahead and restart your PC. Windows should install the missing printer drivers during boot. Following this, you should be able to clear print jobs without any issues.
Start Printing Again
A stuck print job on Windows can hamper your productivity and waste several minutes. Hopefully, the methods described above were helpful to remove any stuck print jobs from your Windows 11 PC. The above article may contain affiliate links which help support Guiding Tech. However, it does not affect our editorial integrity. The content remains unbiased and authentic.